Pergolas
Material Types
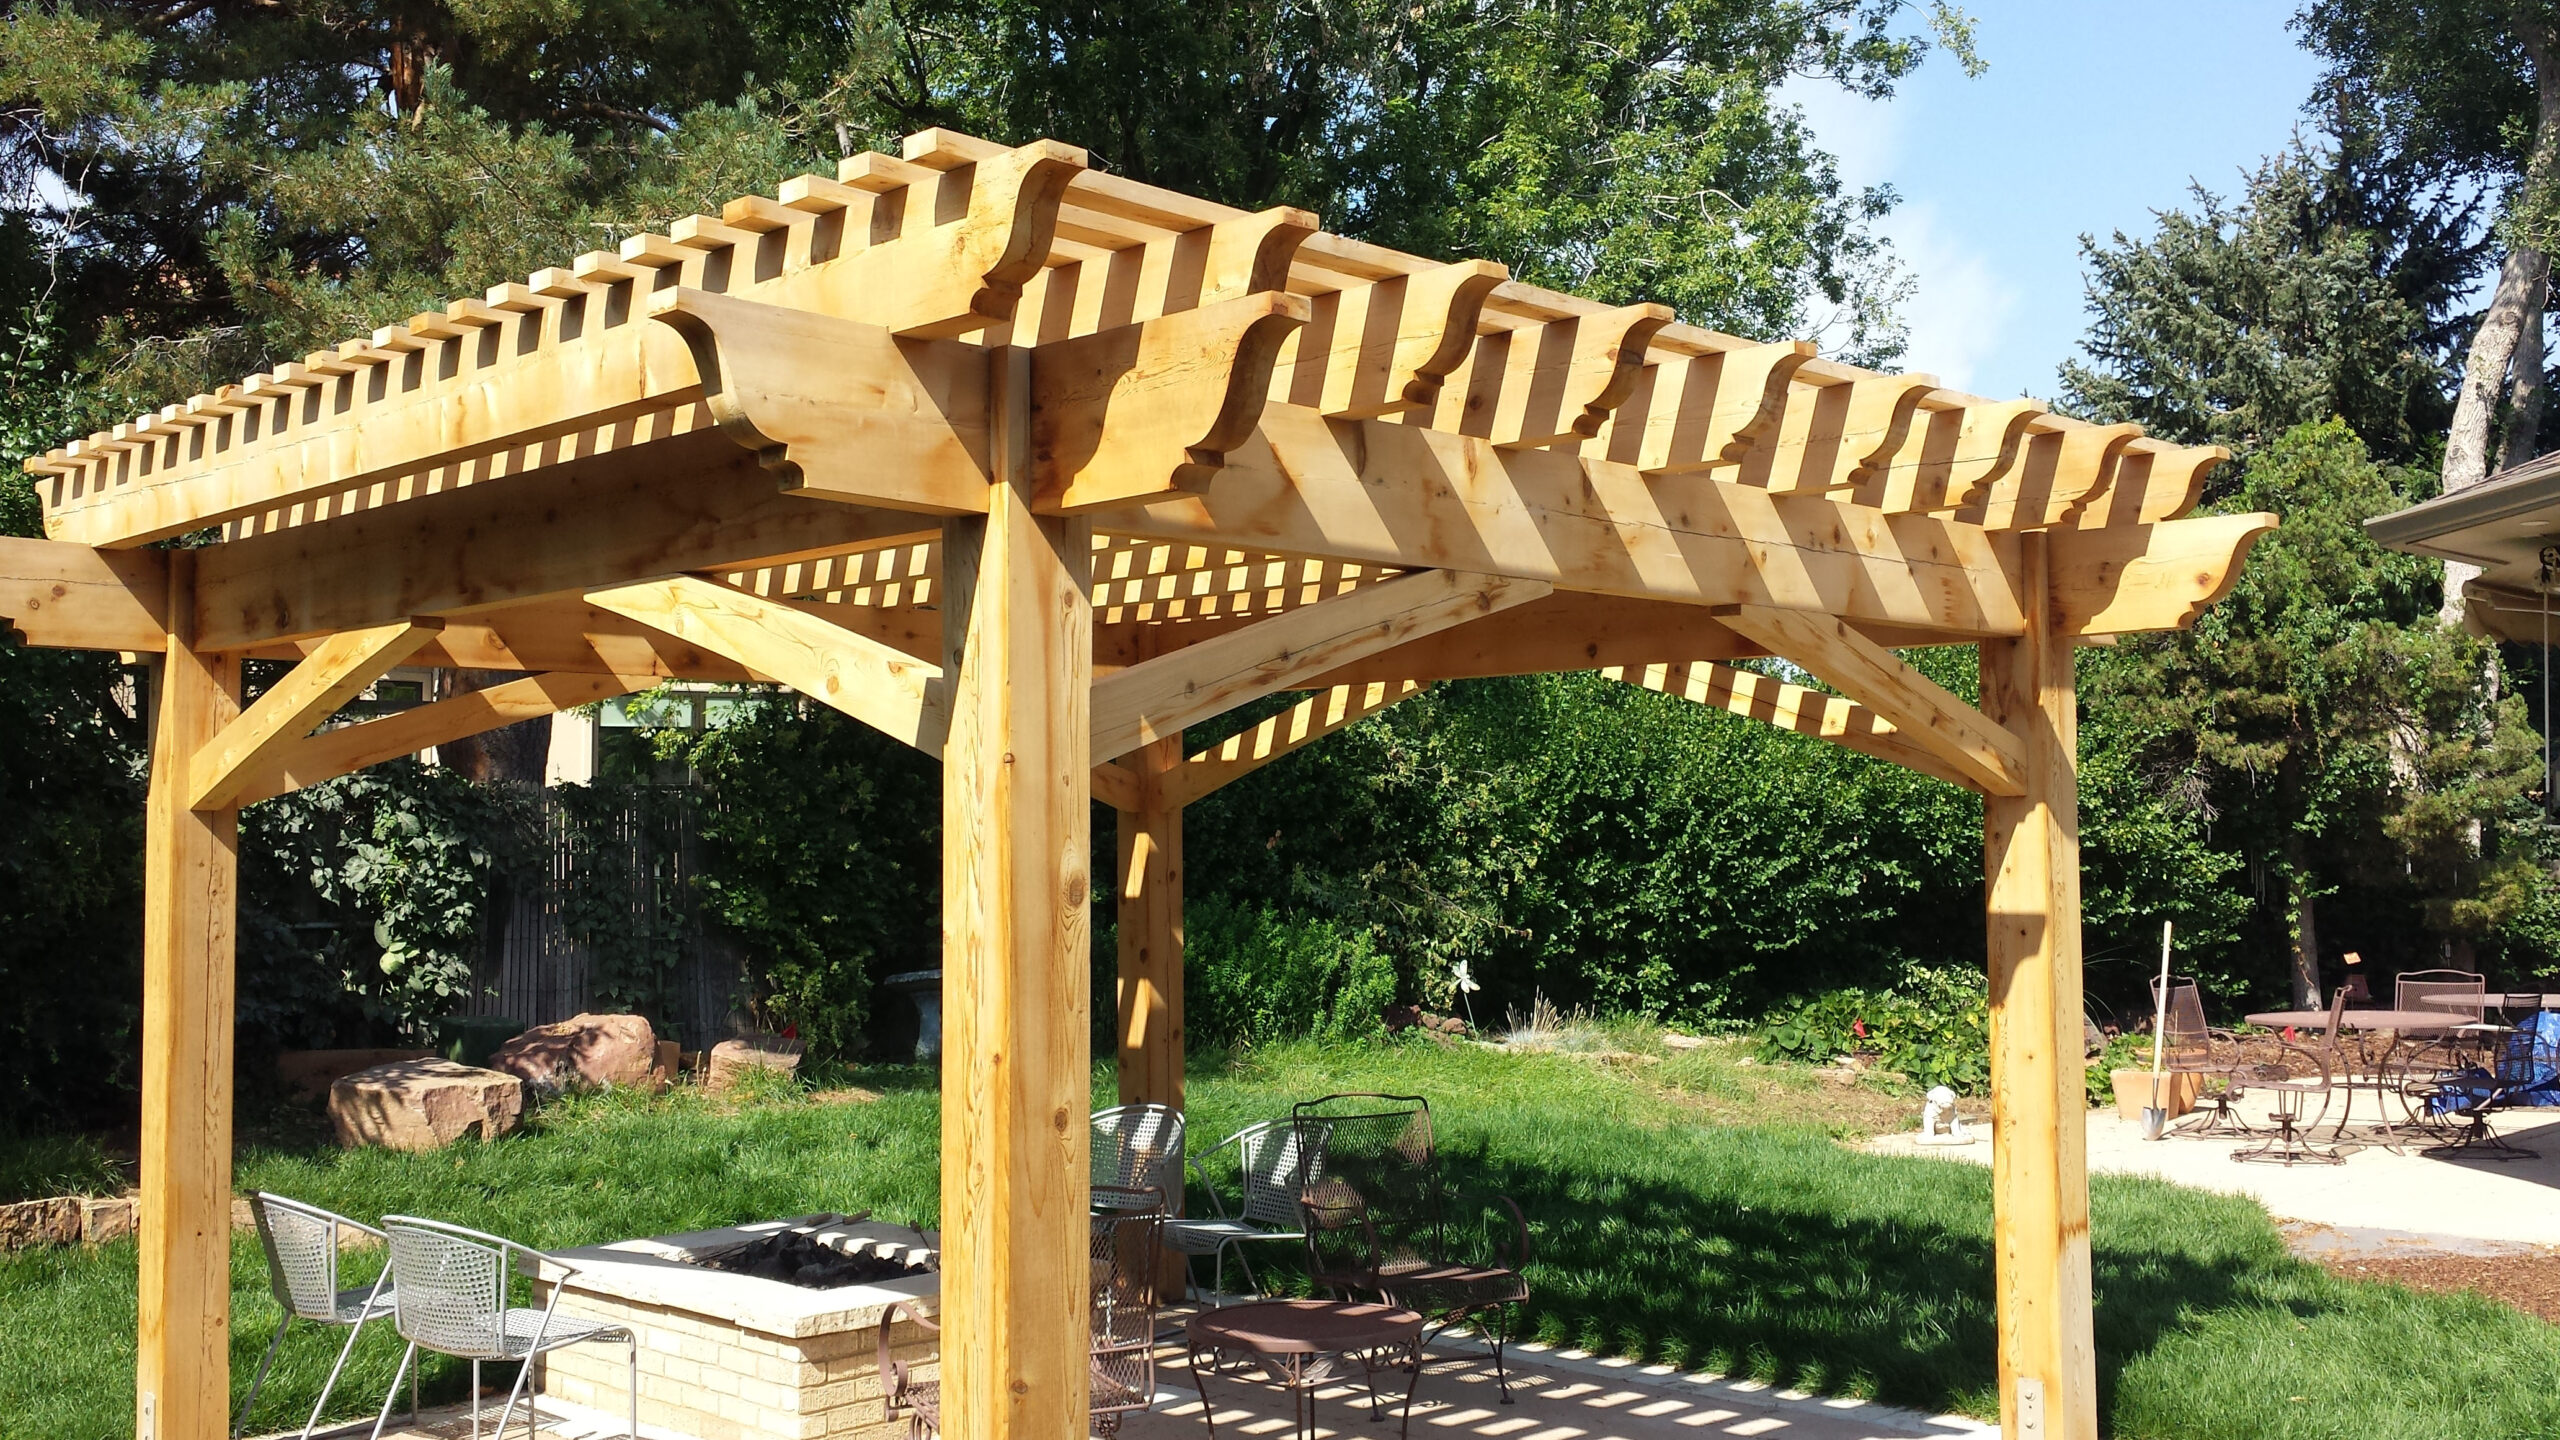
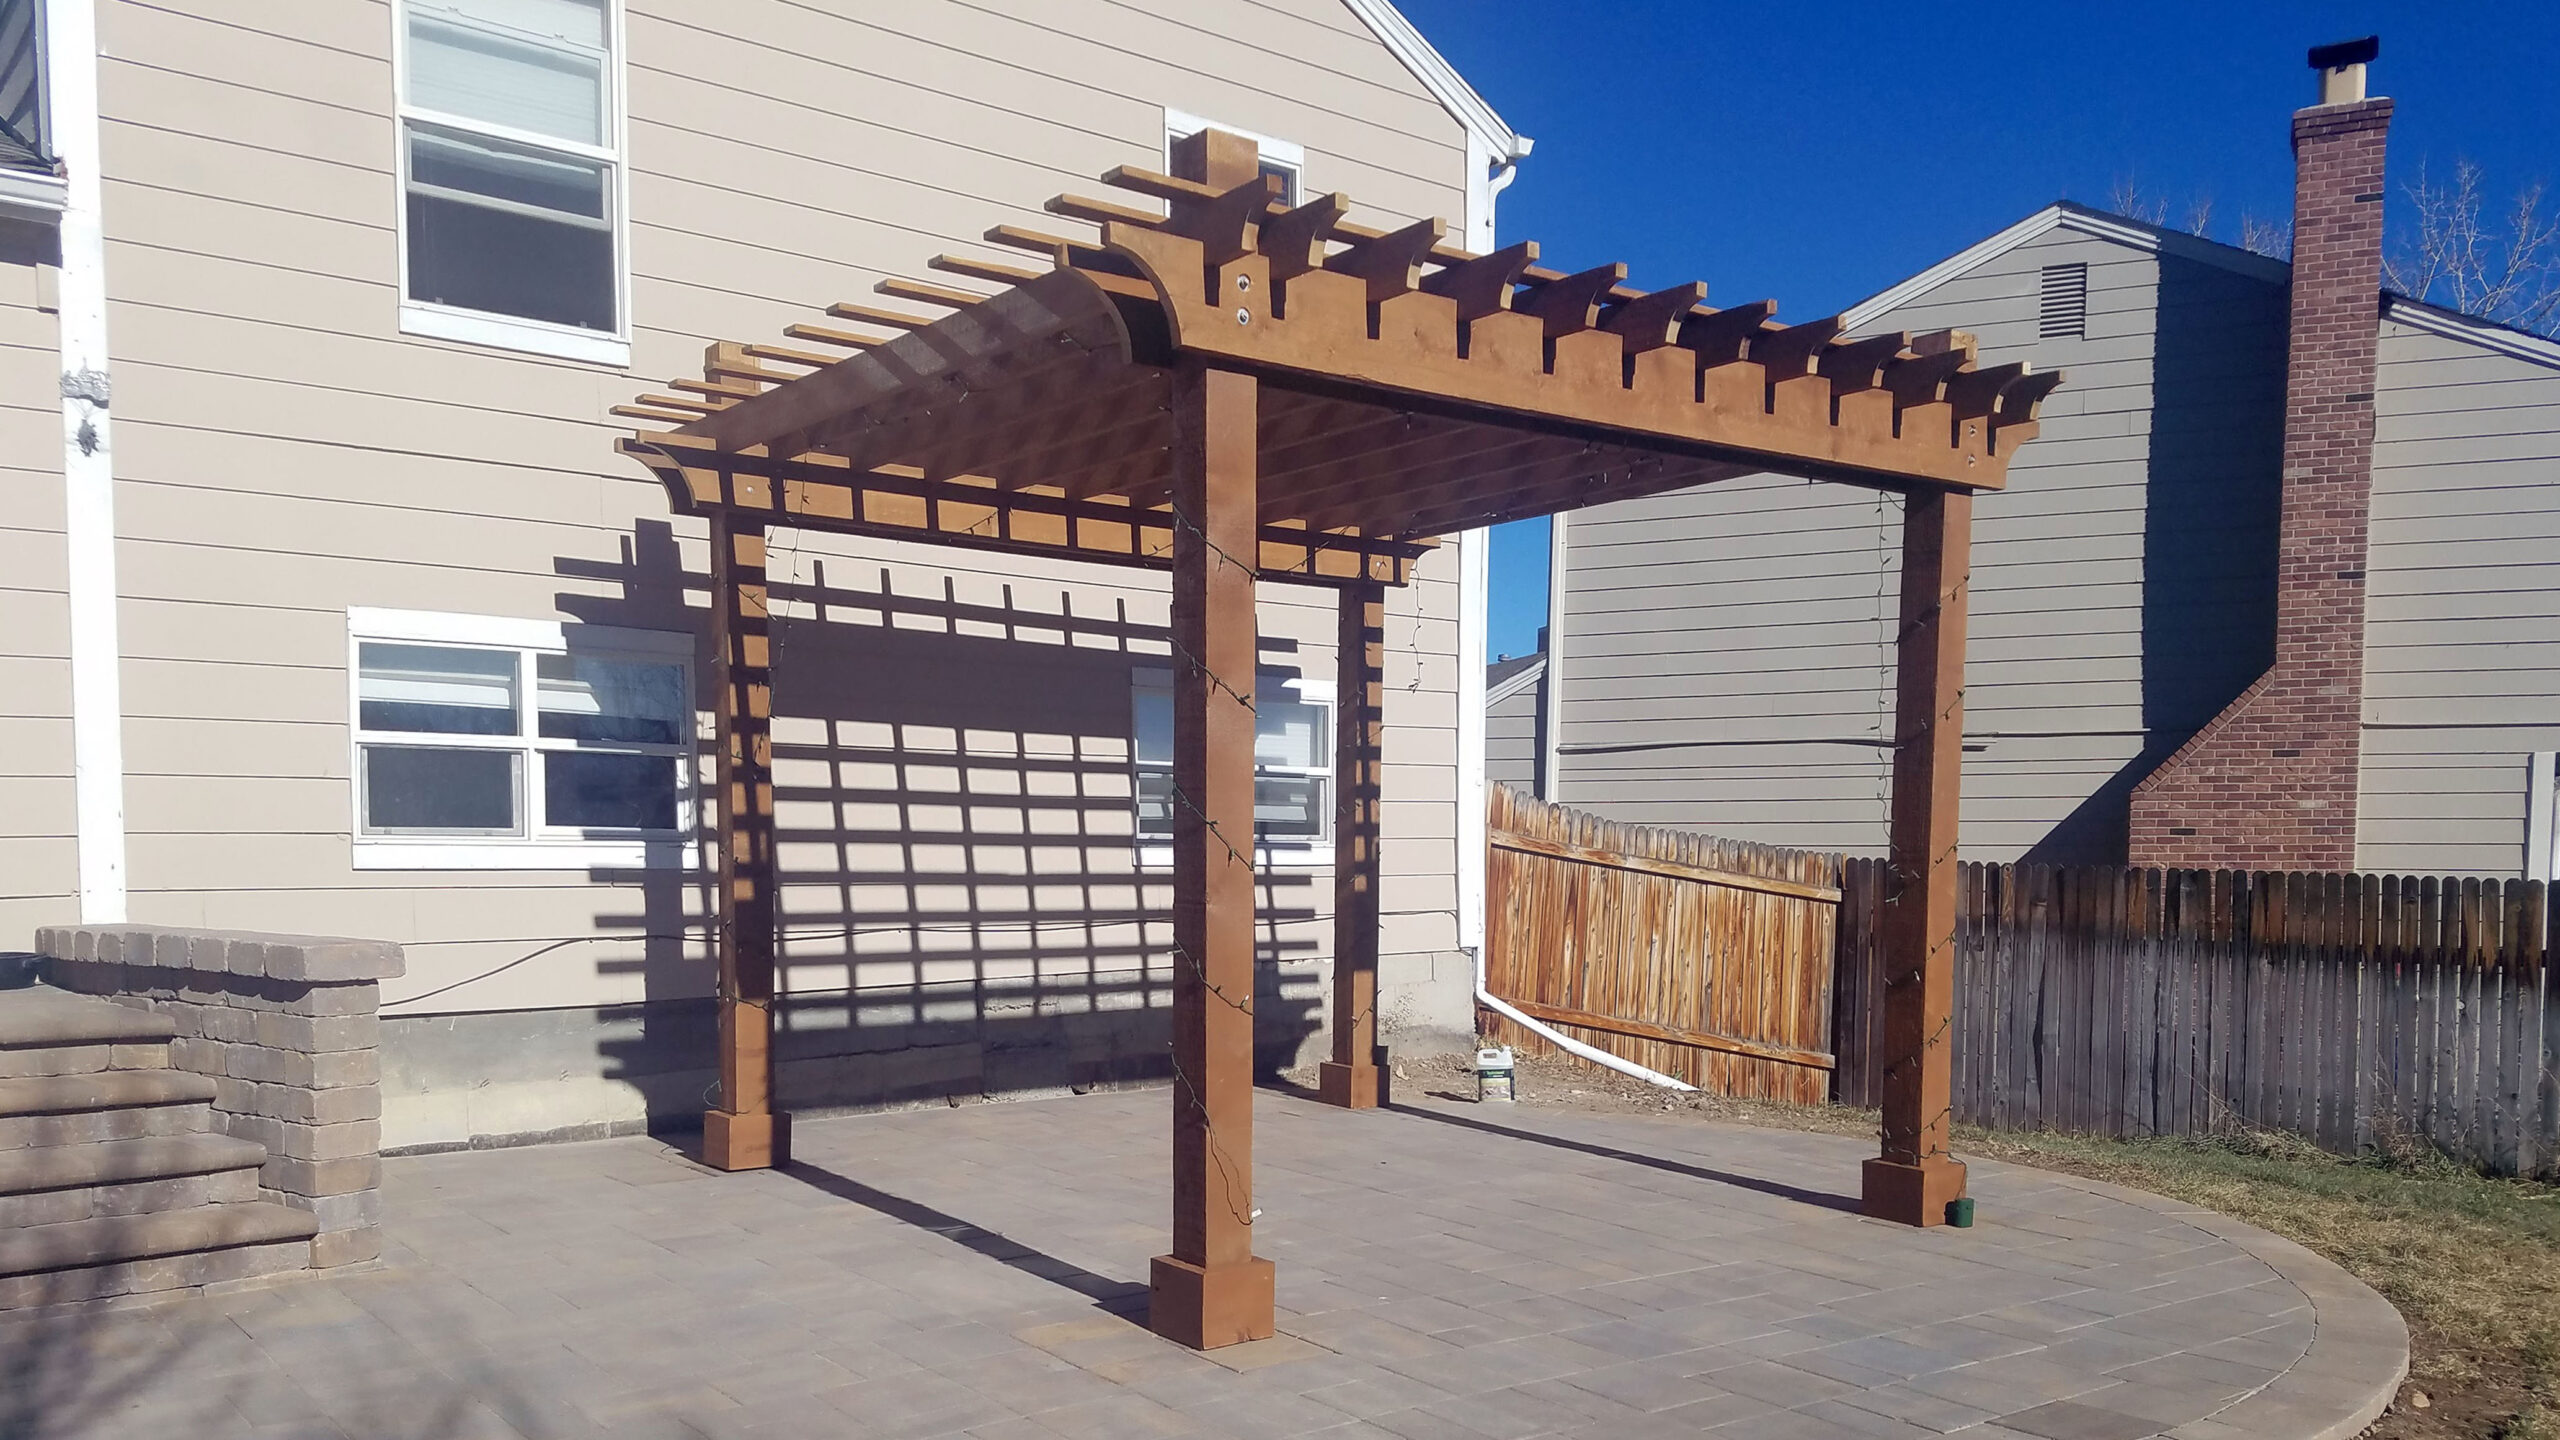
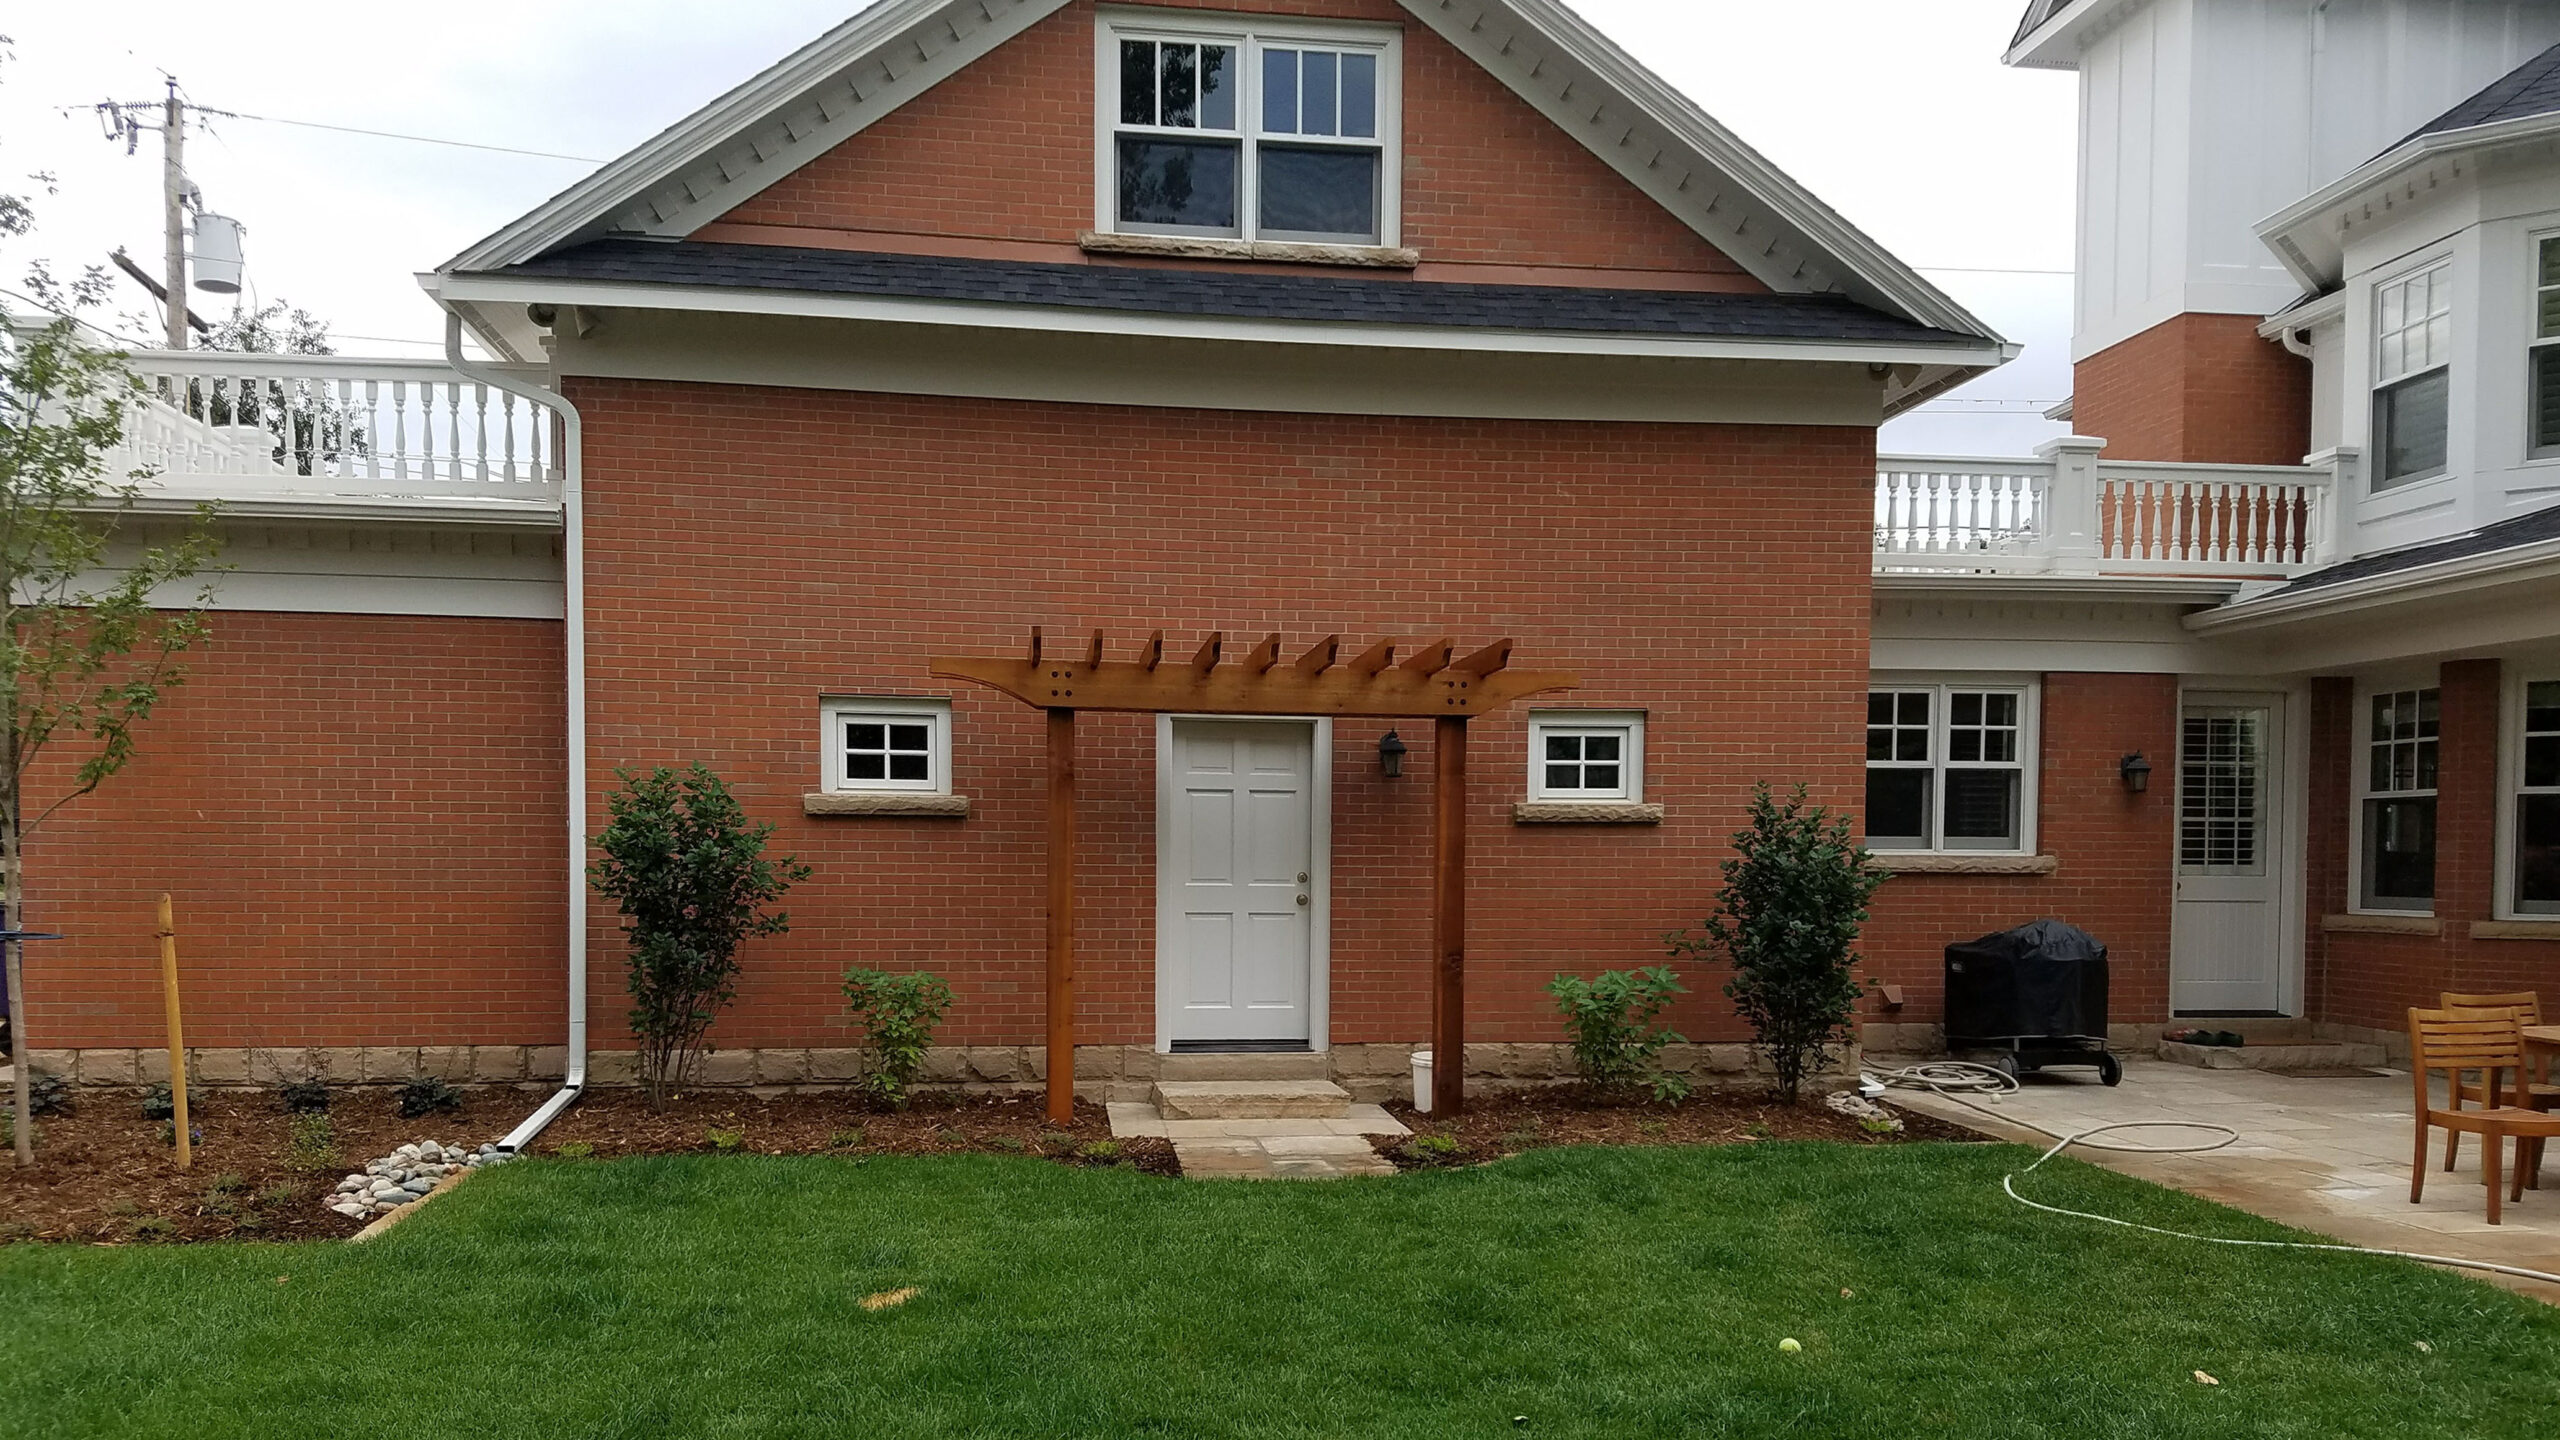
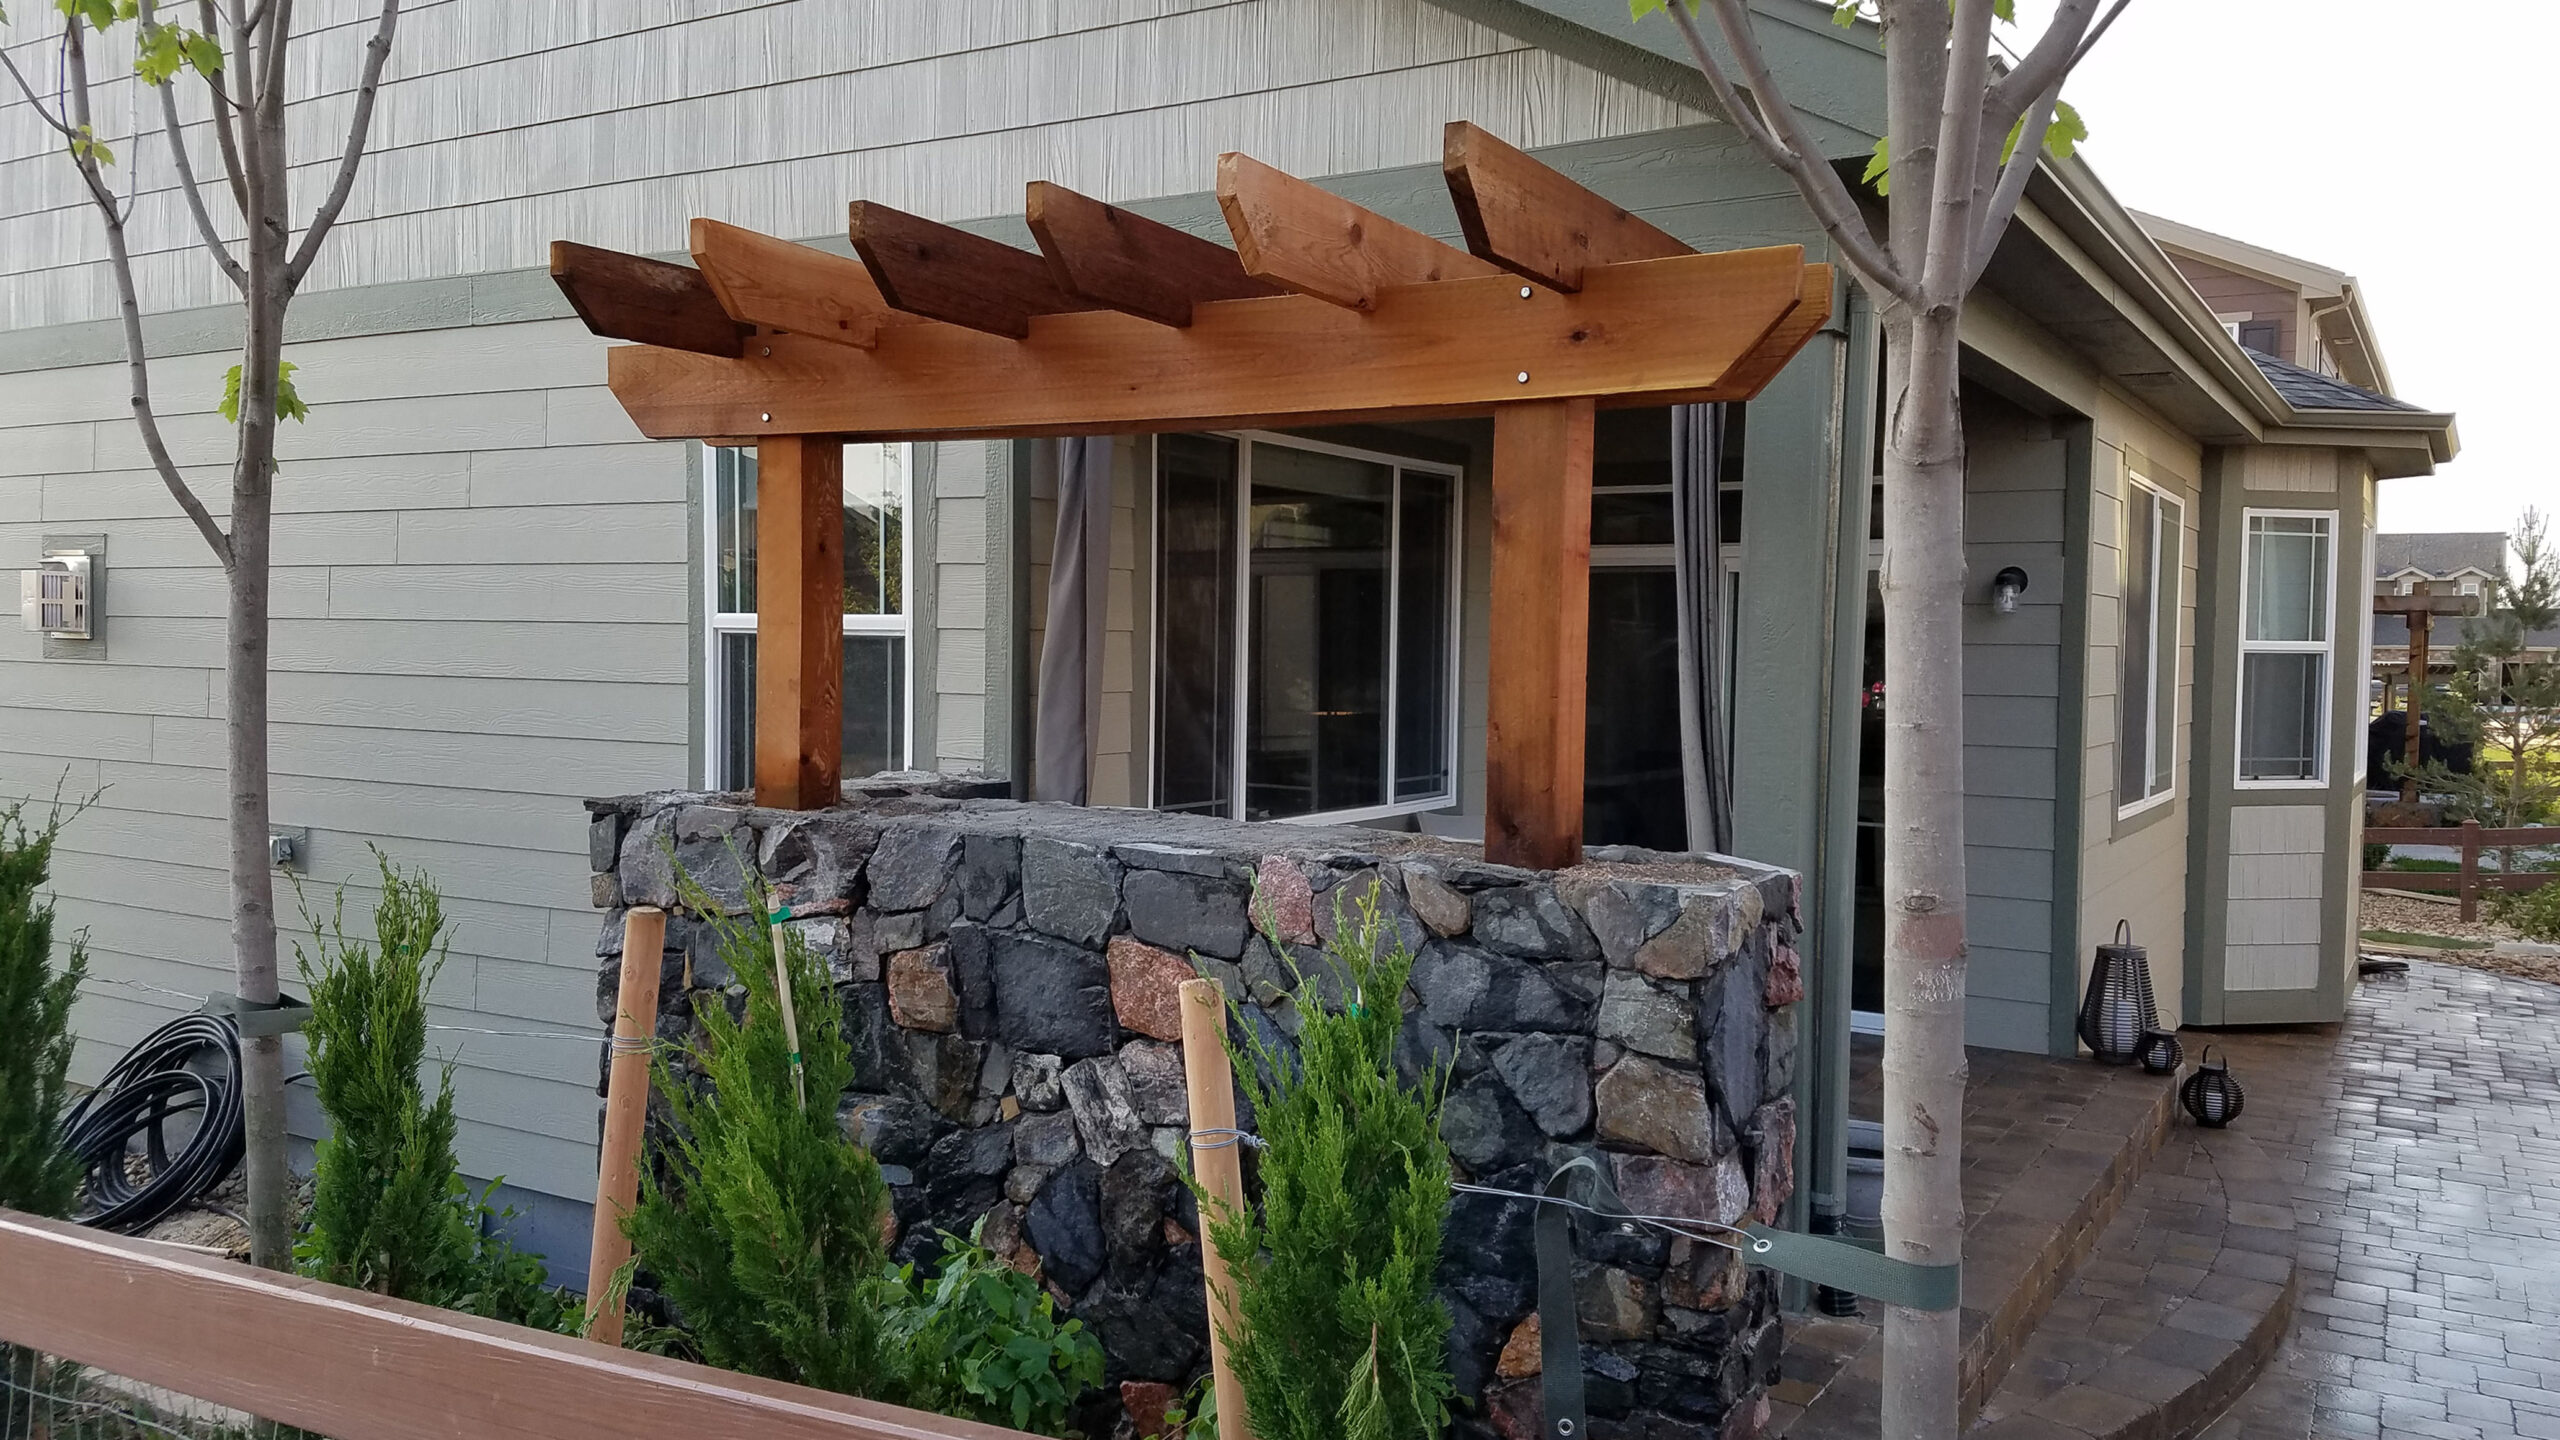
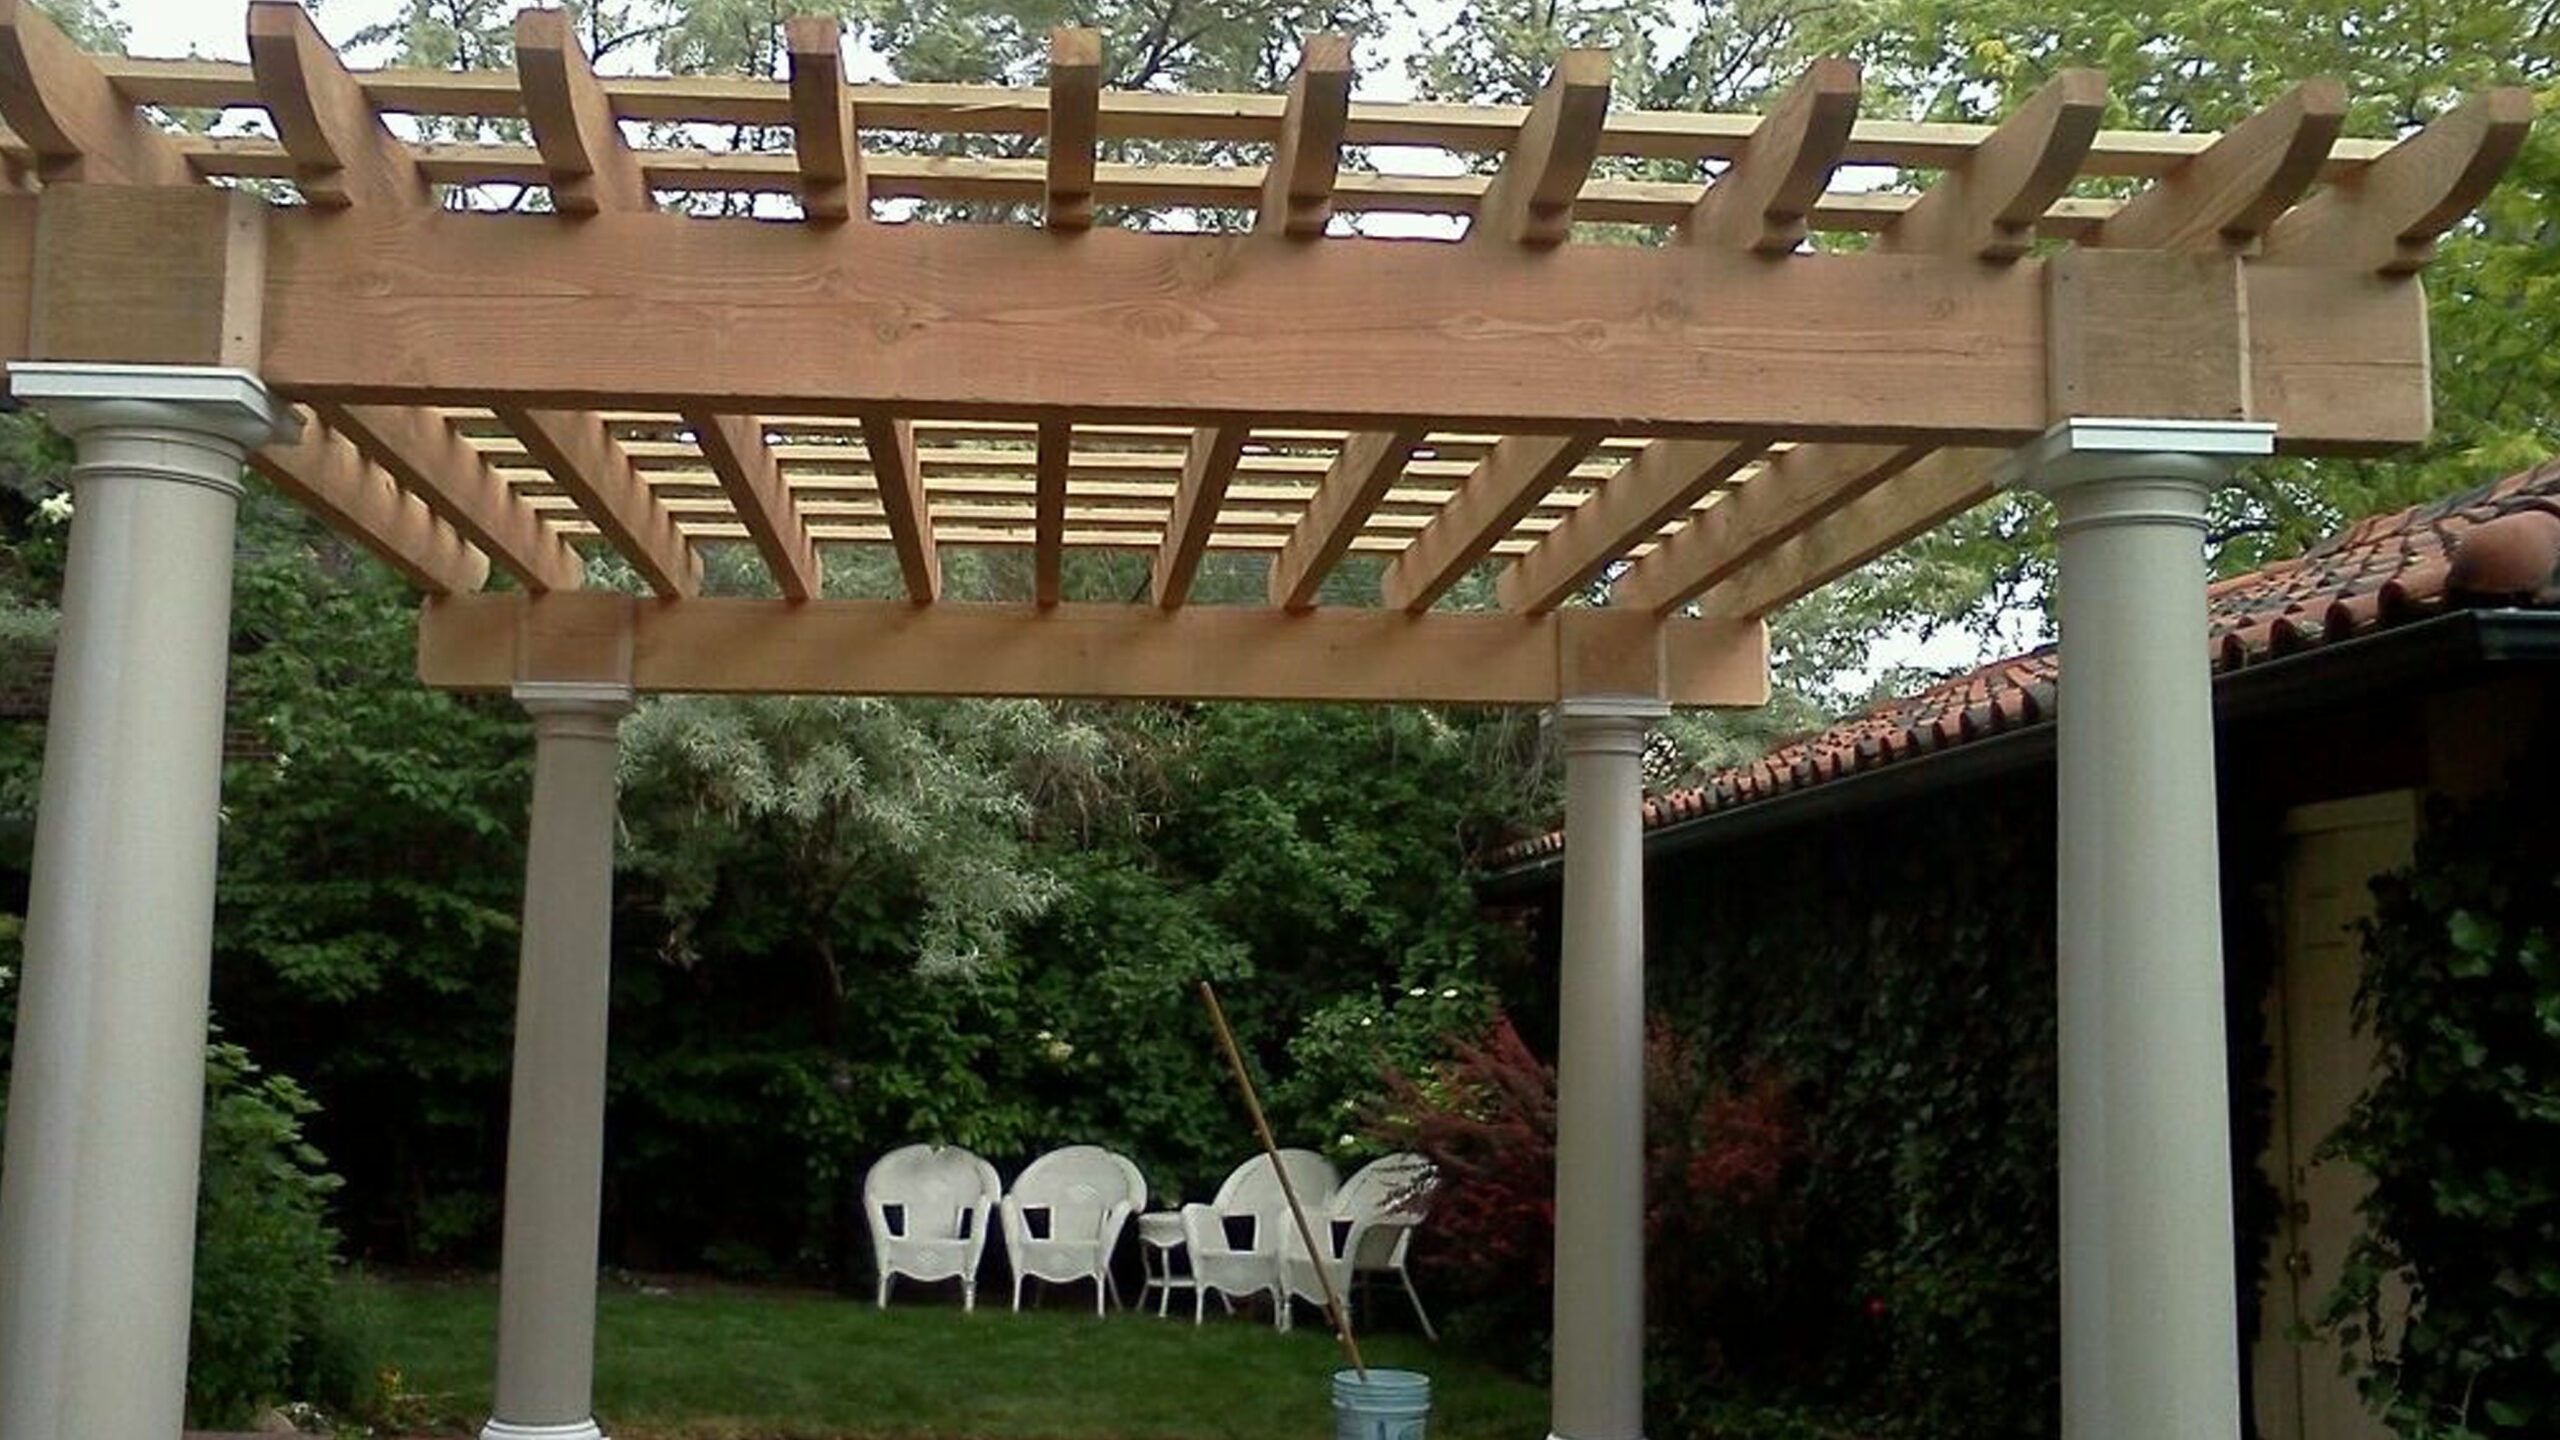
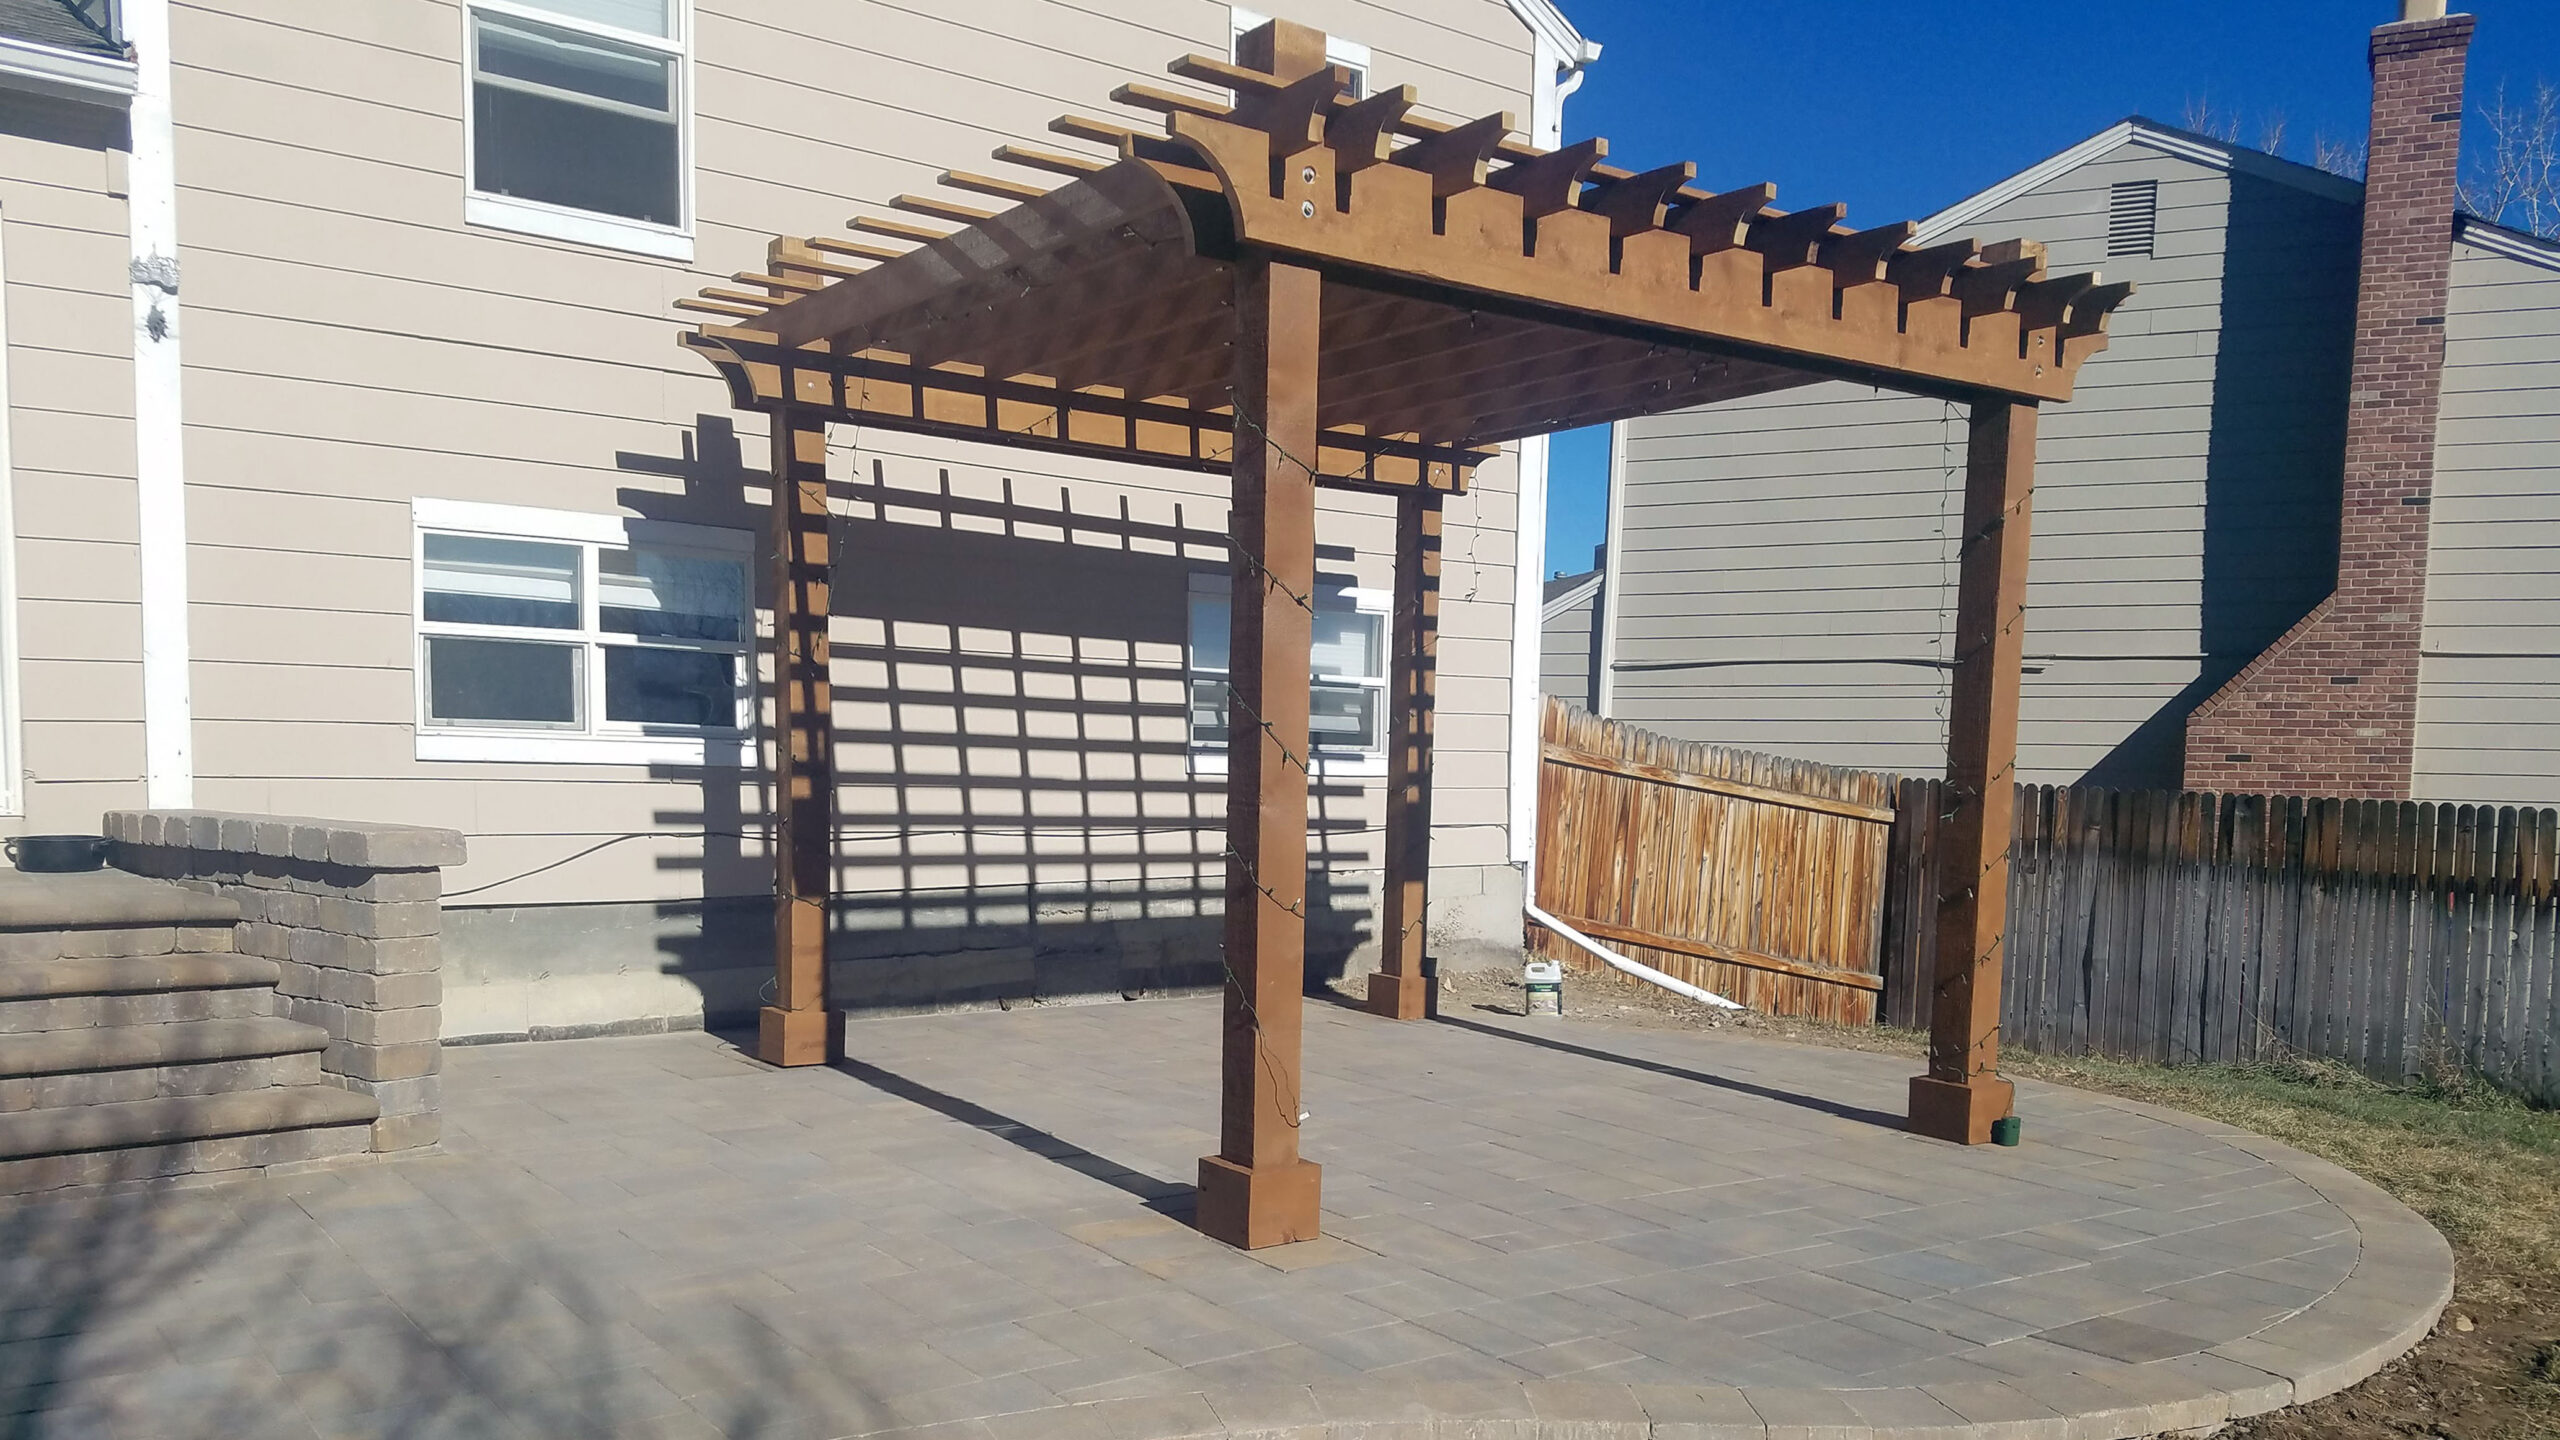
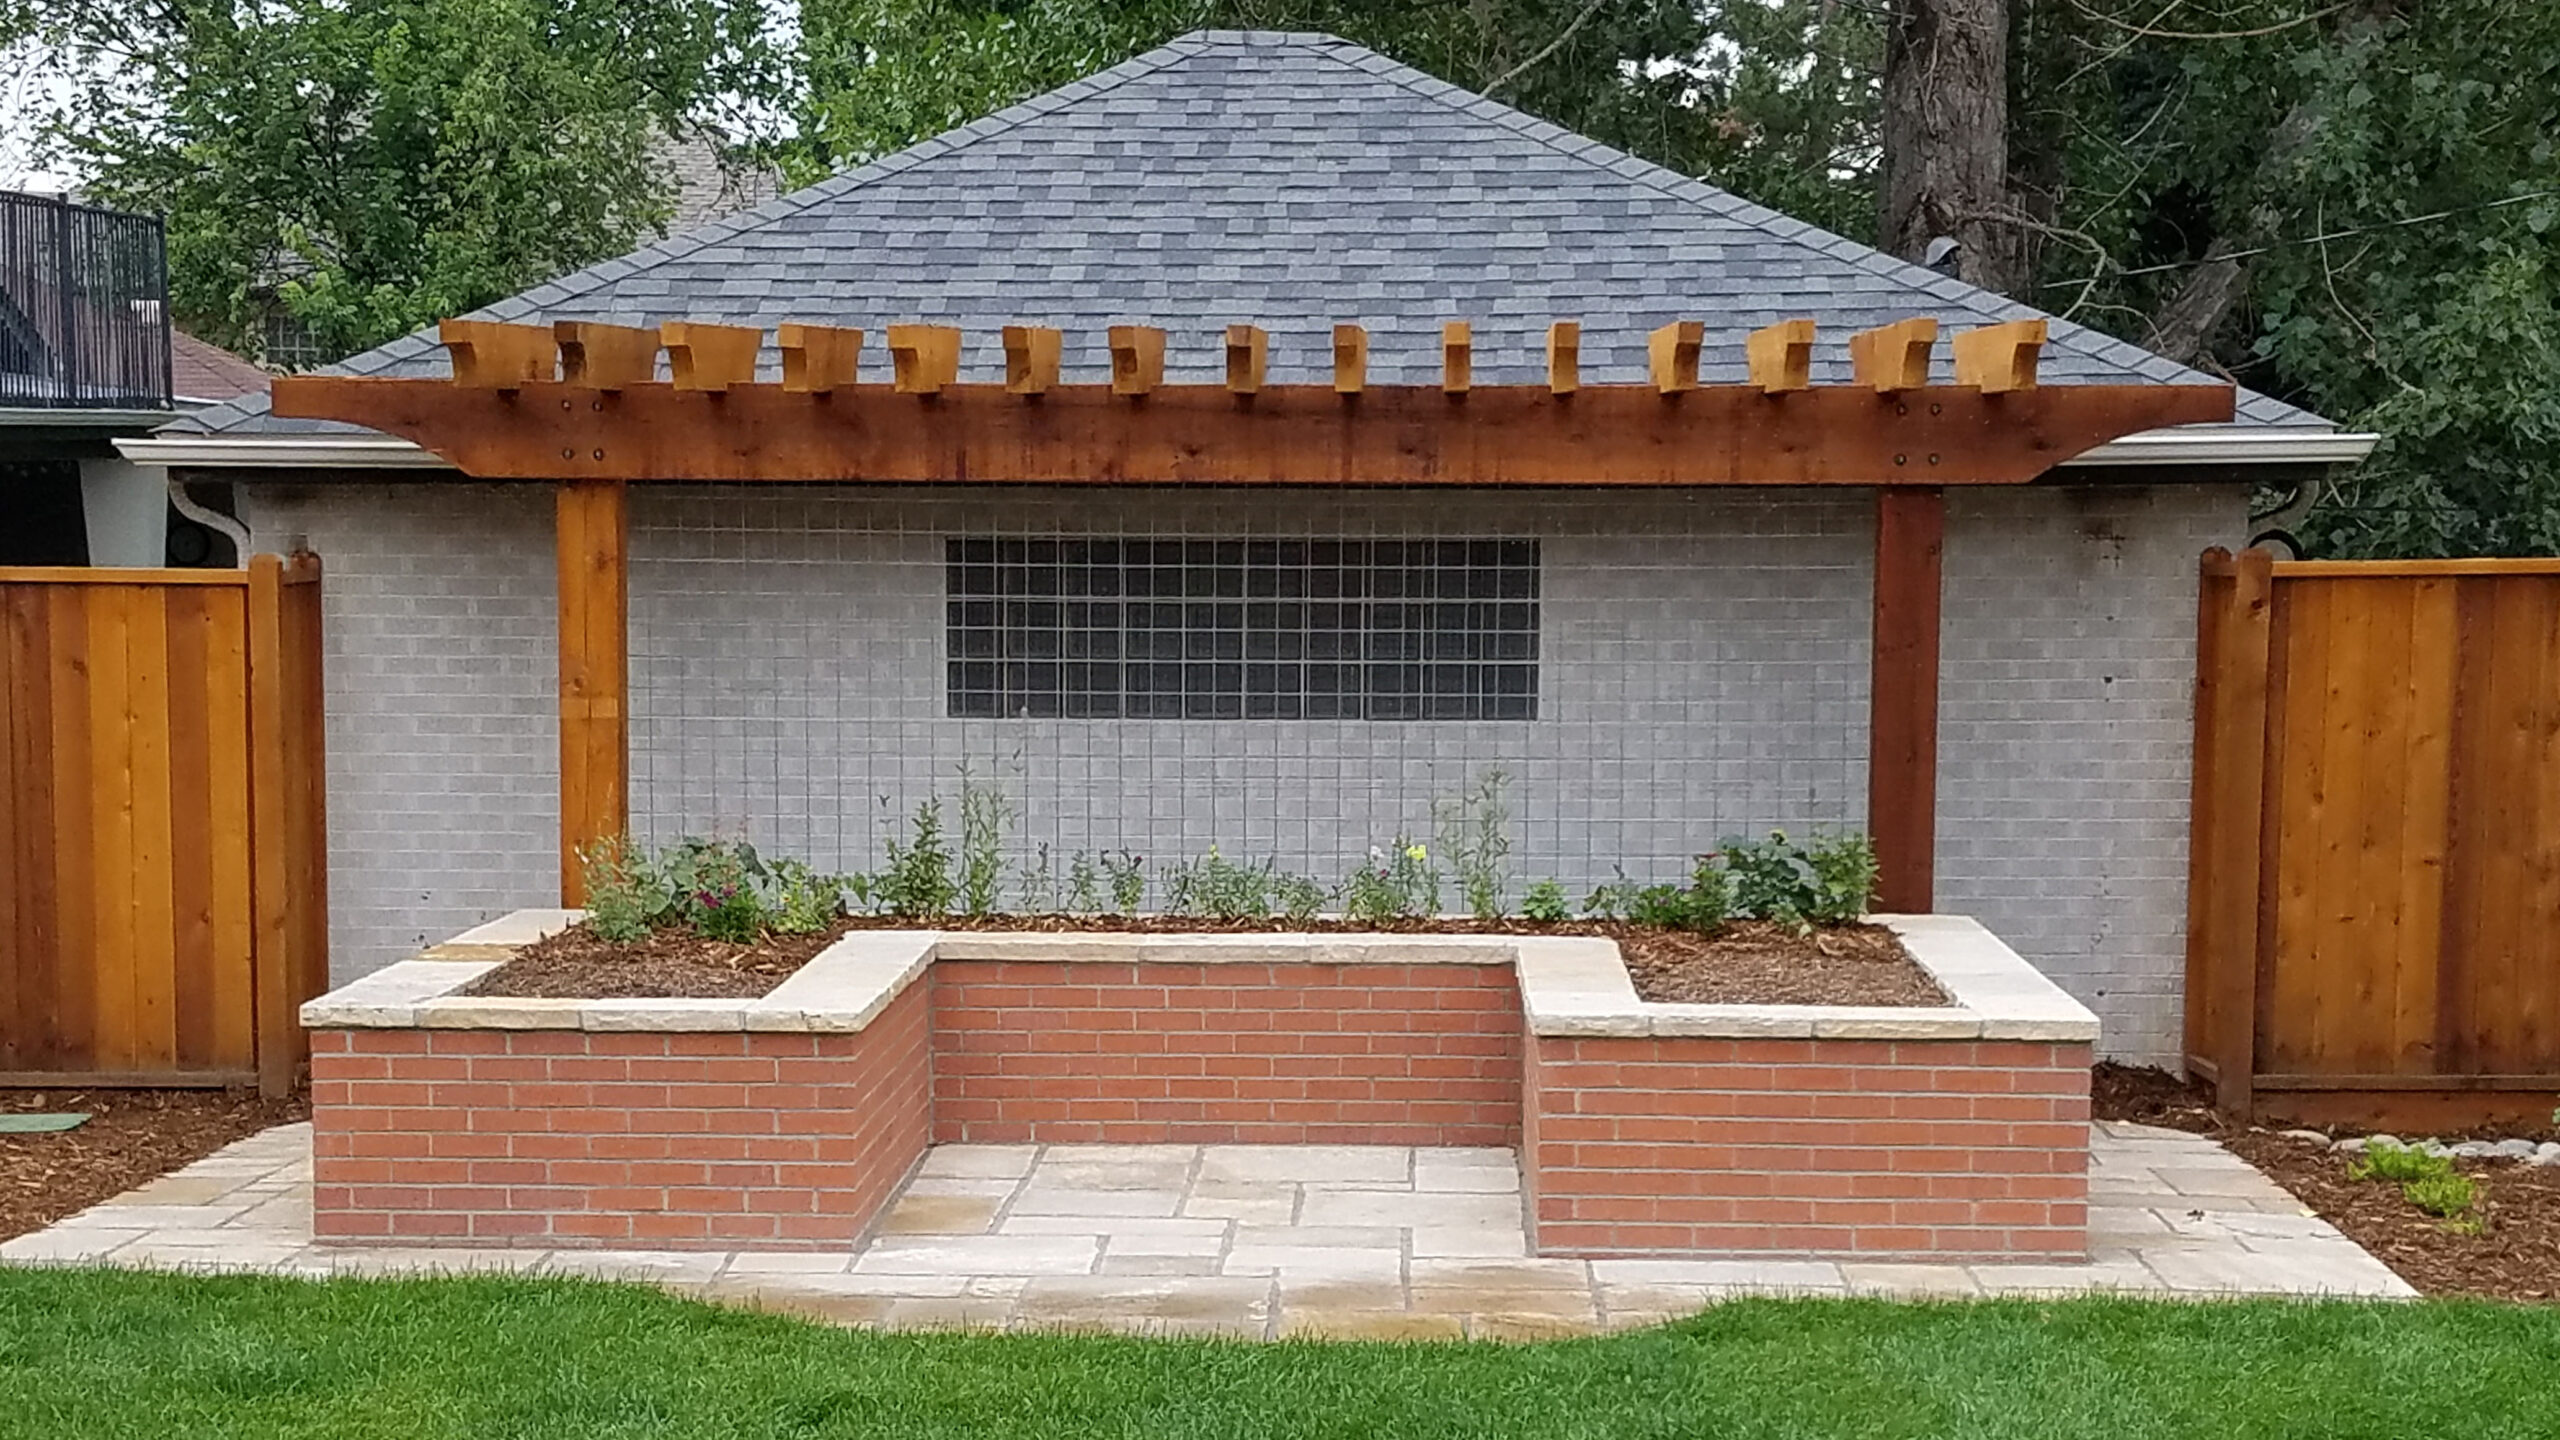
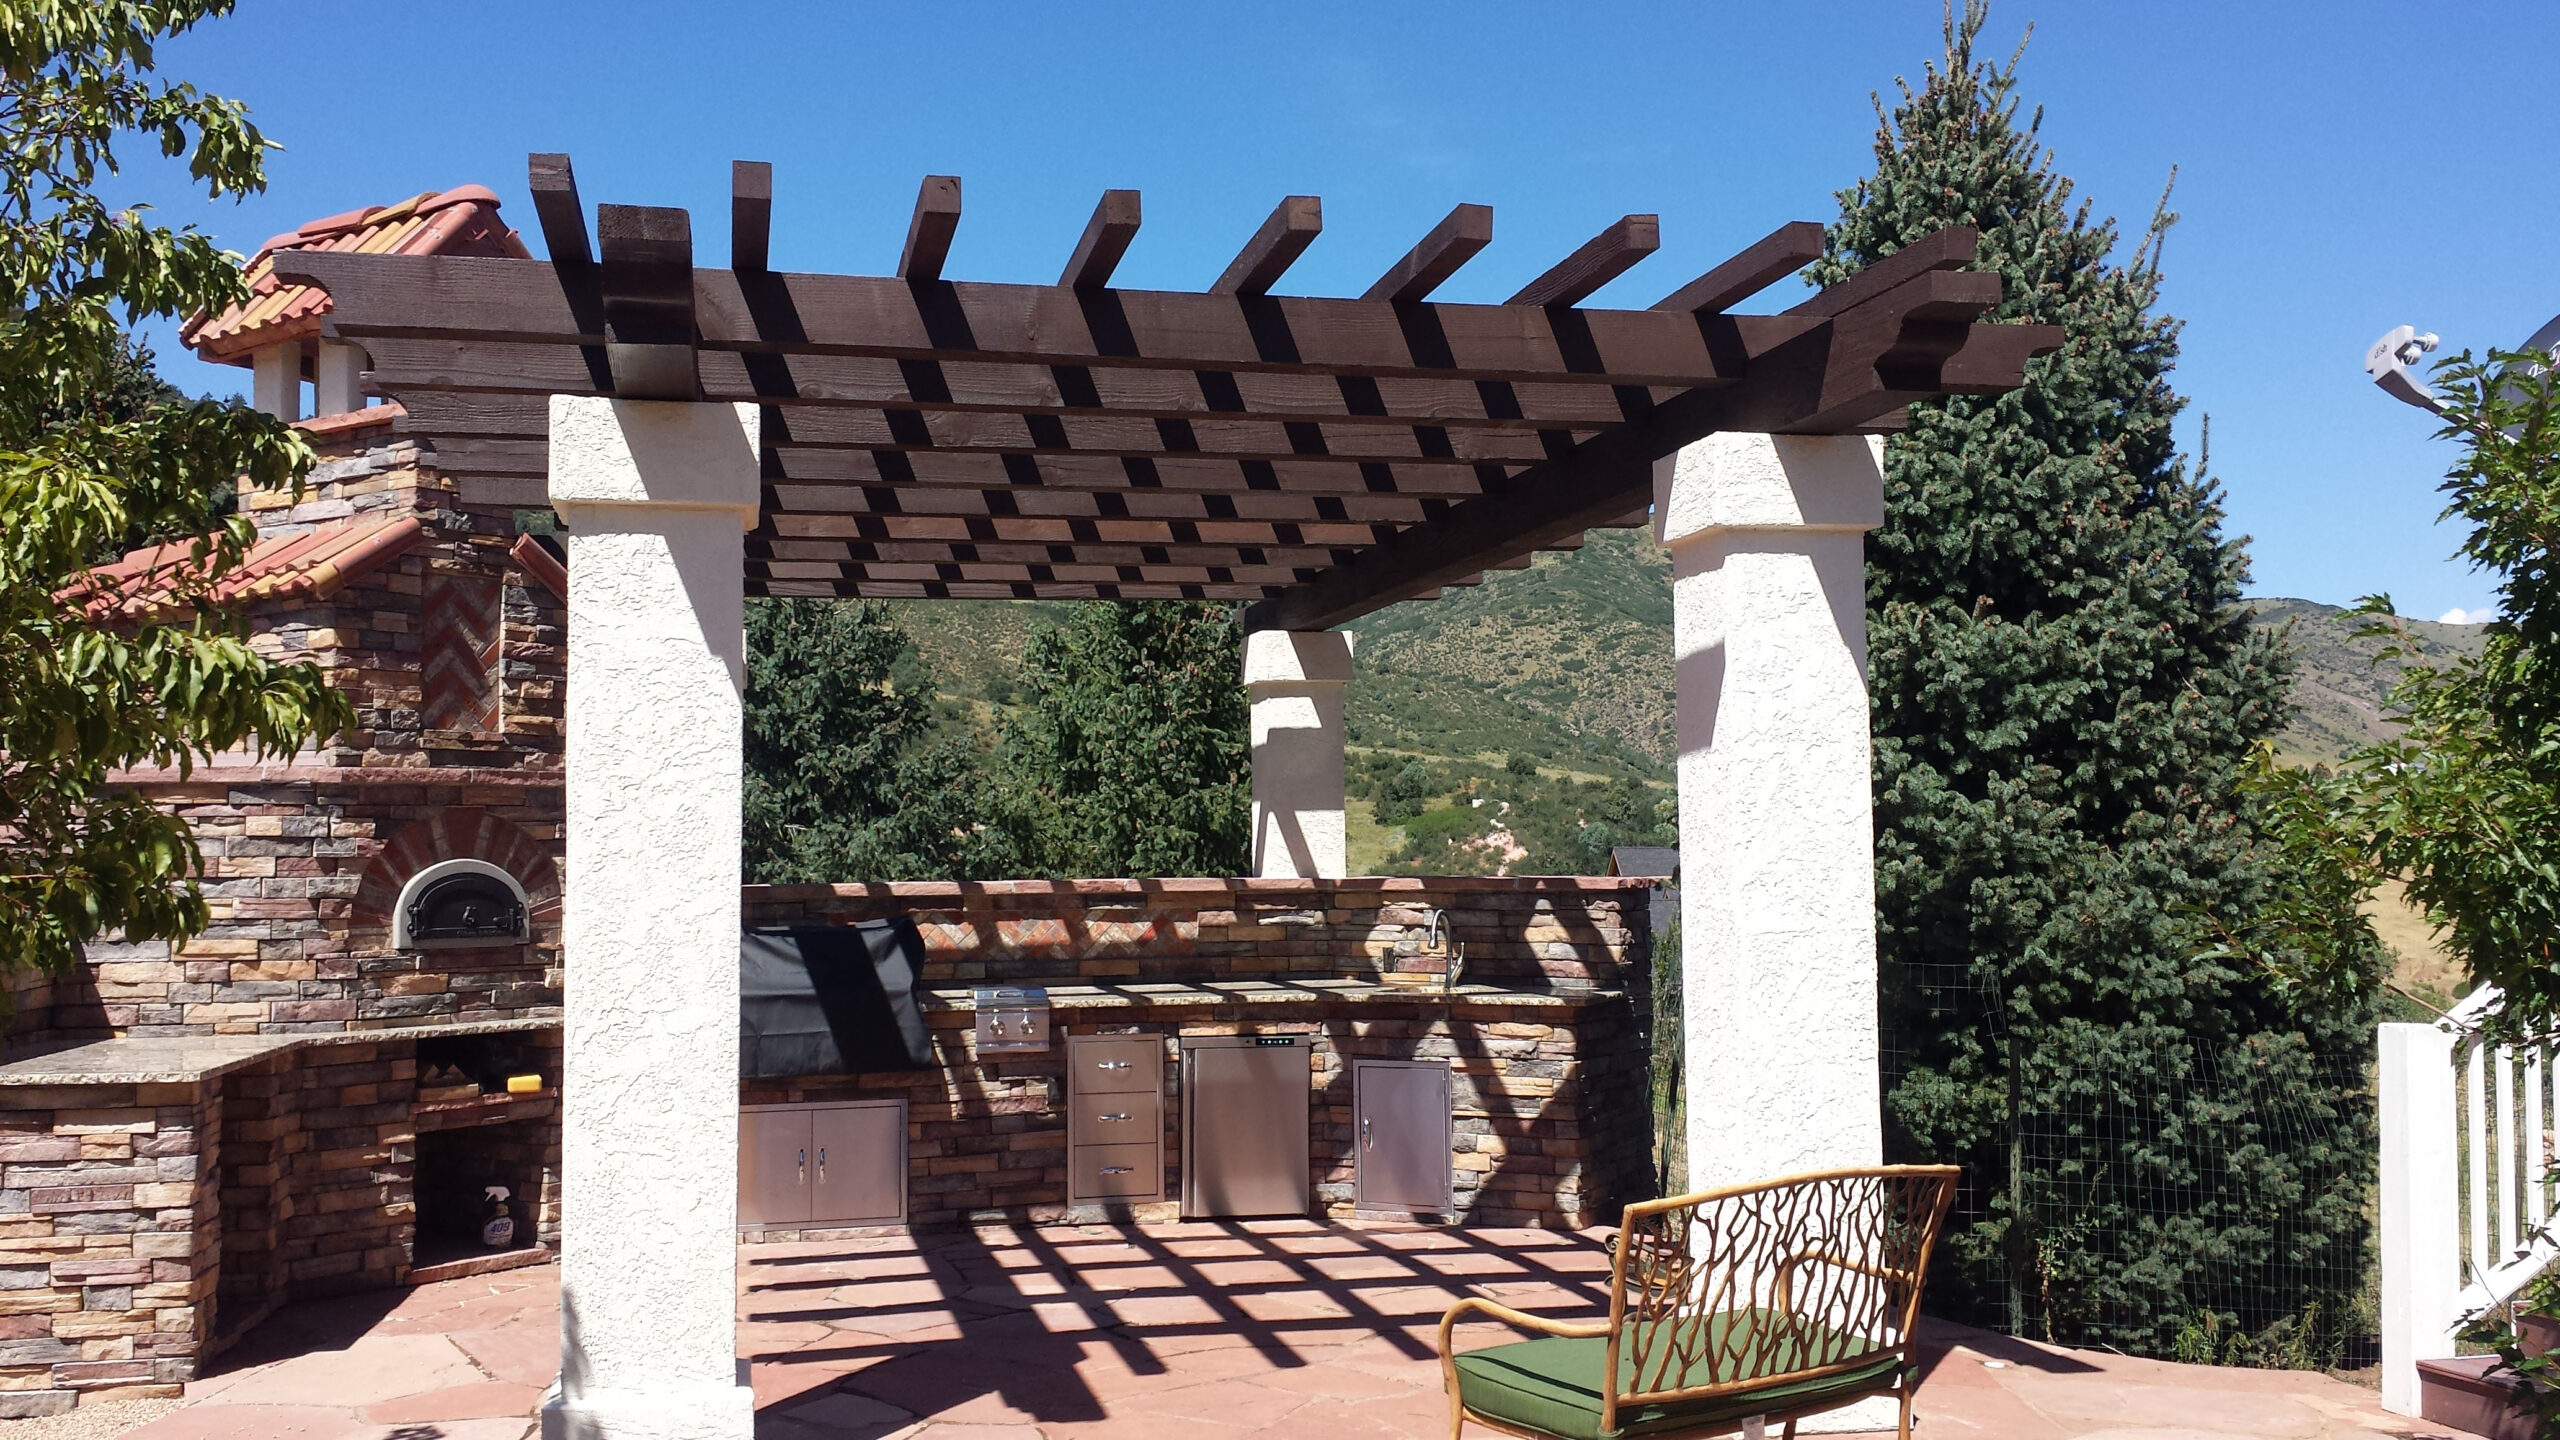
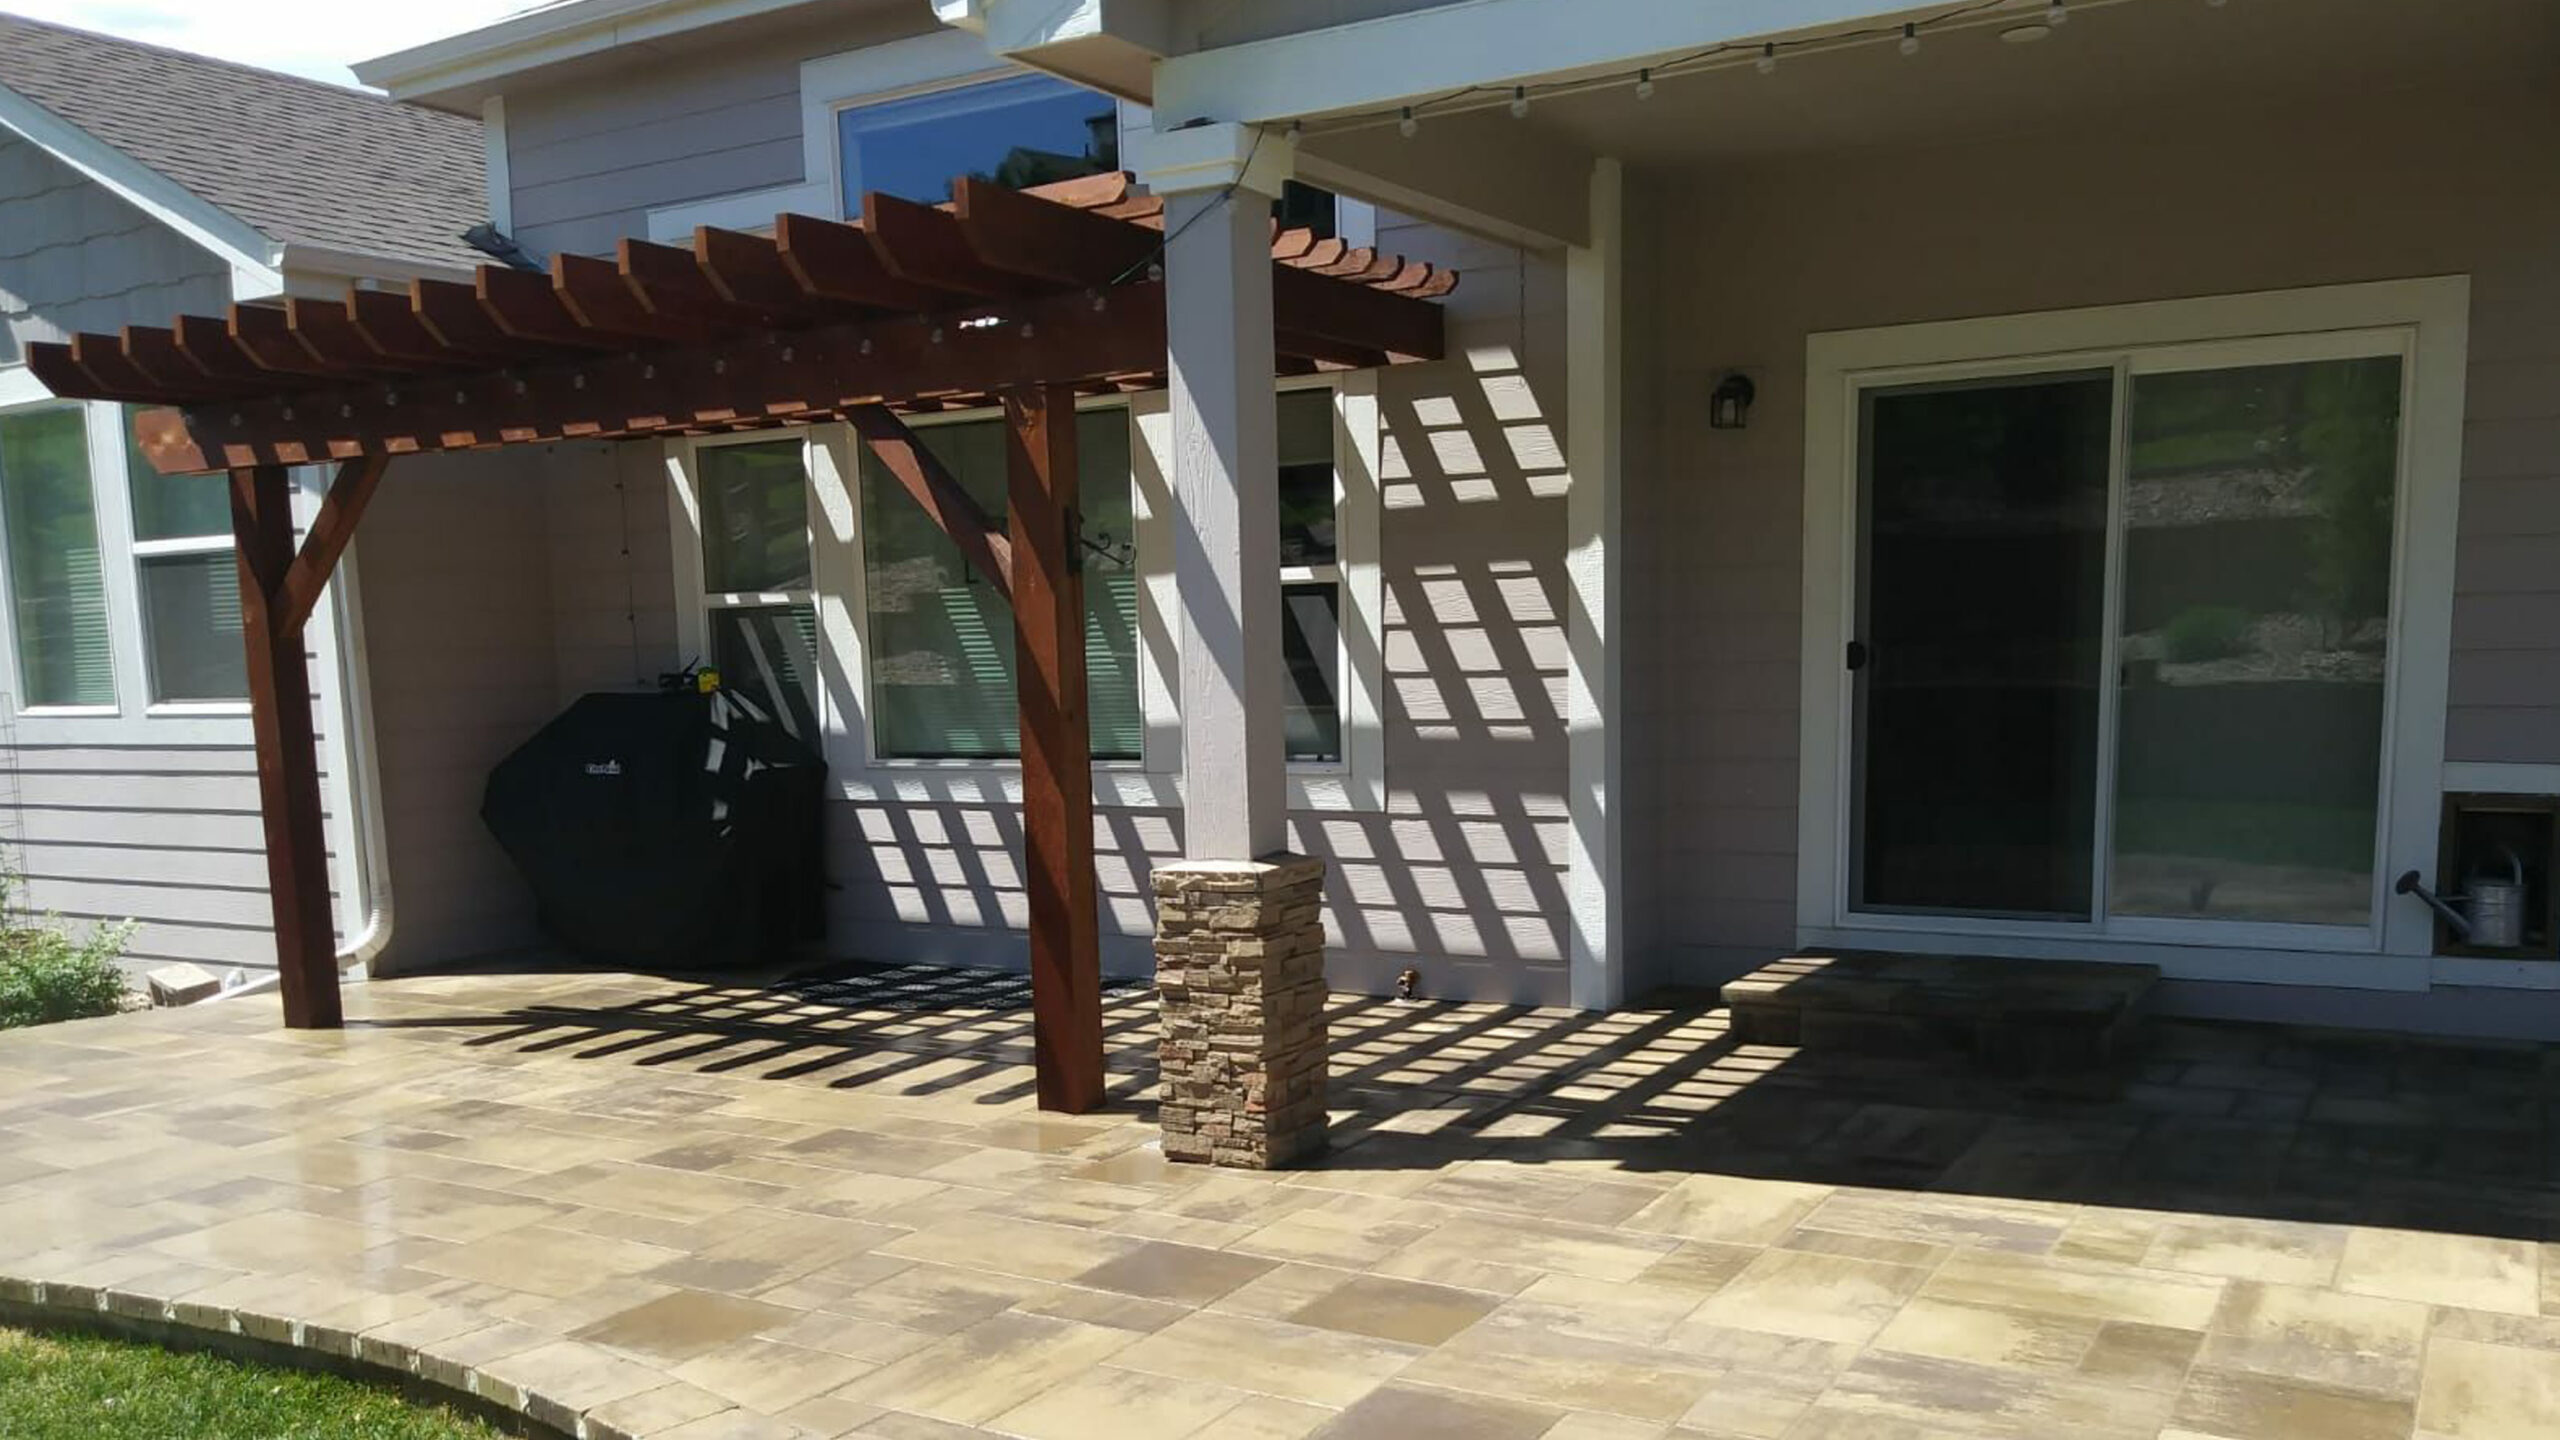
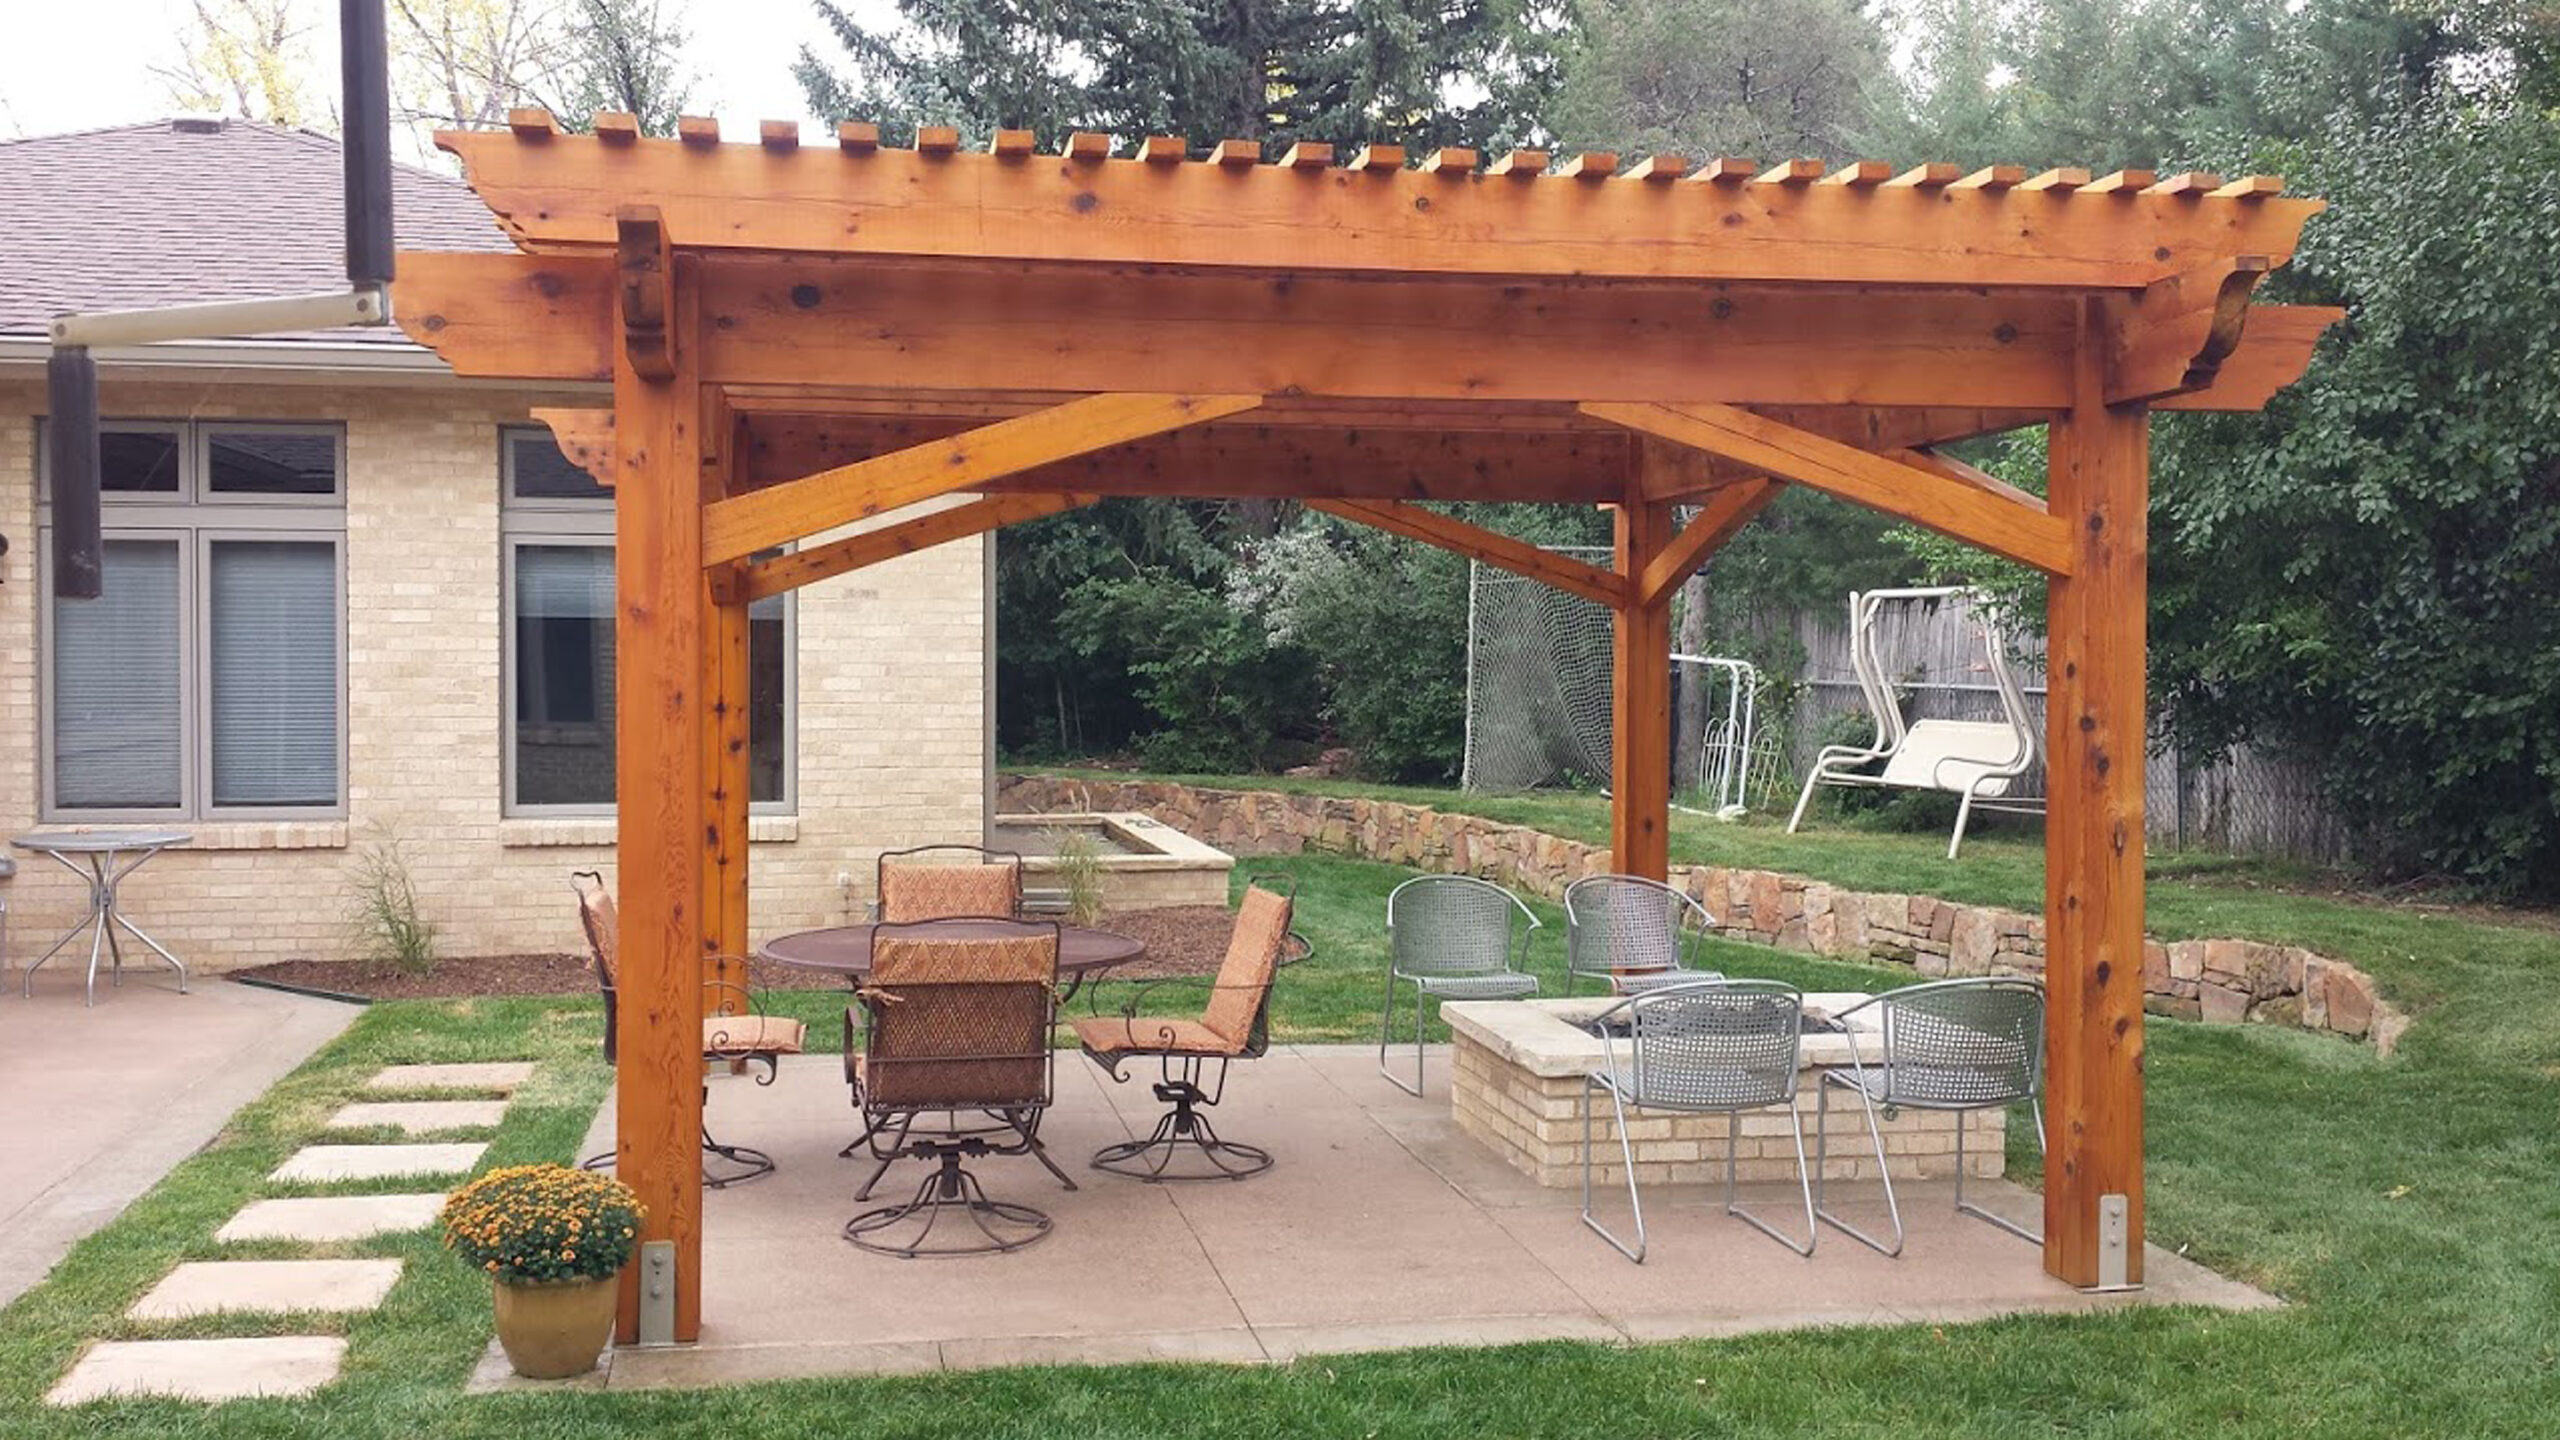
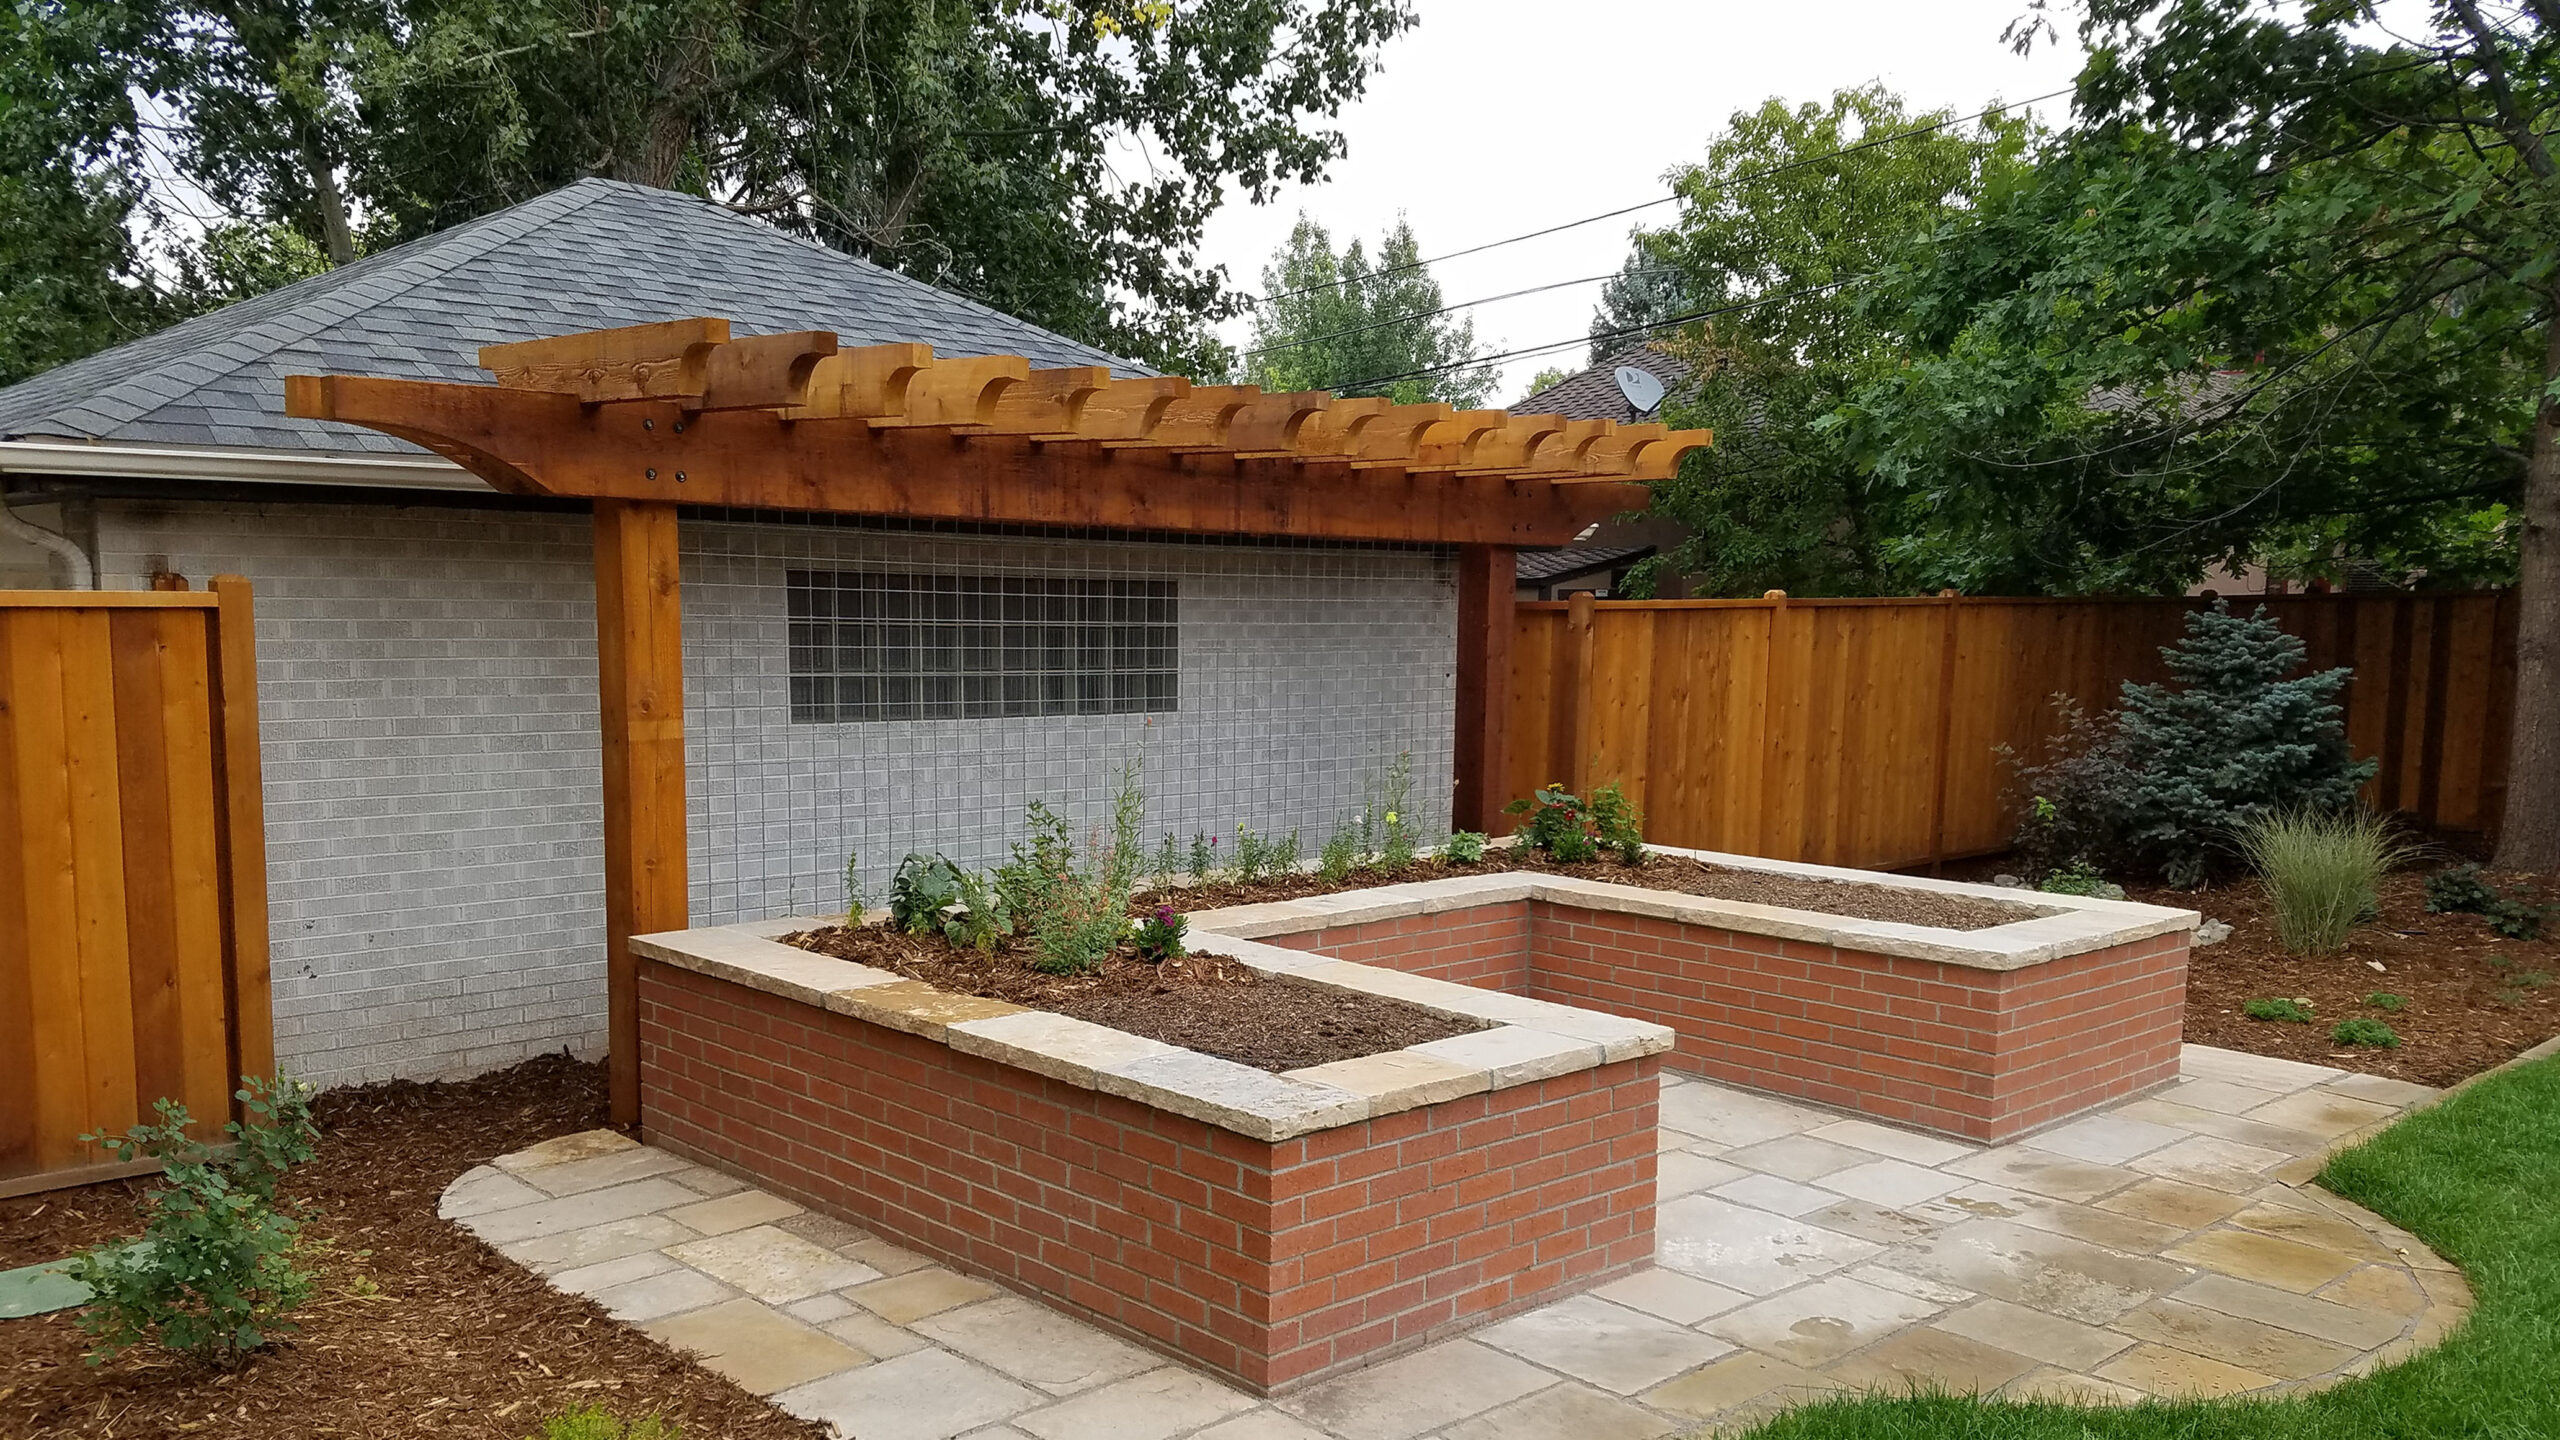
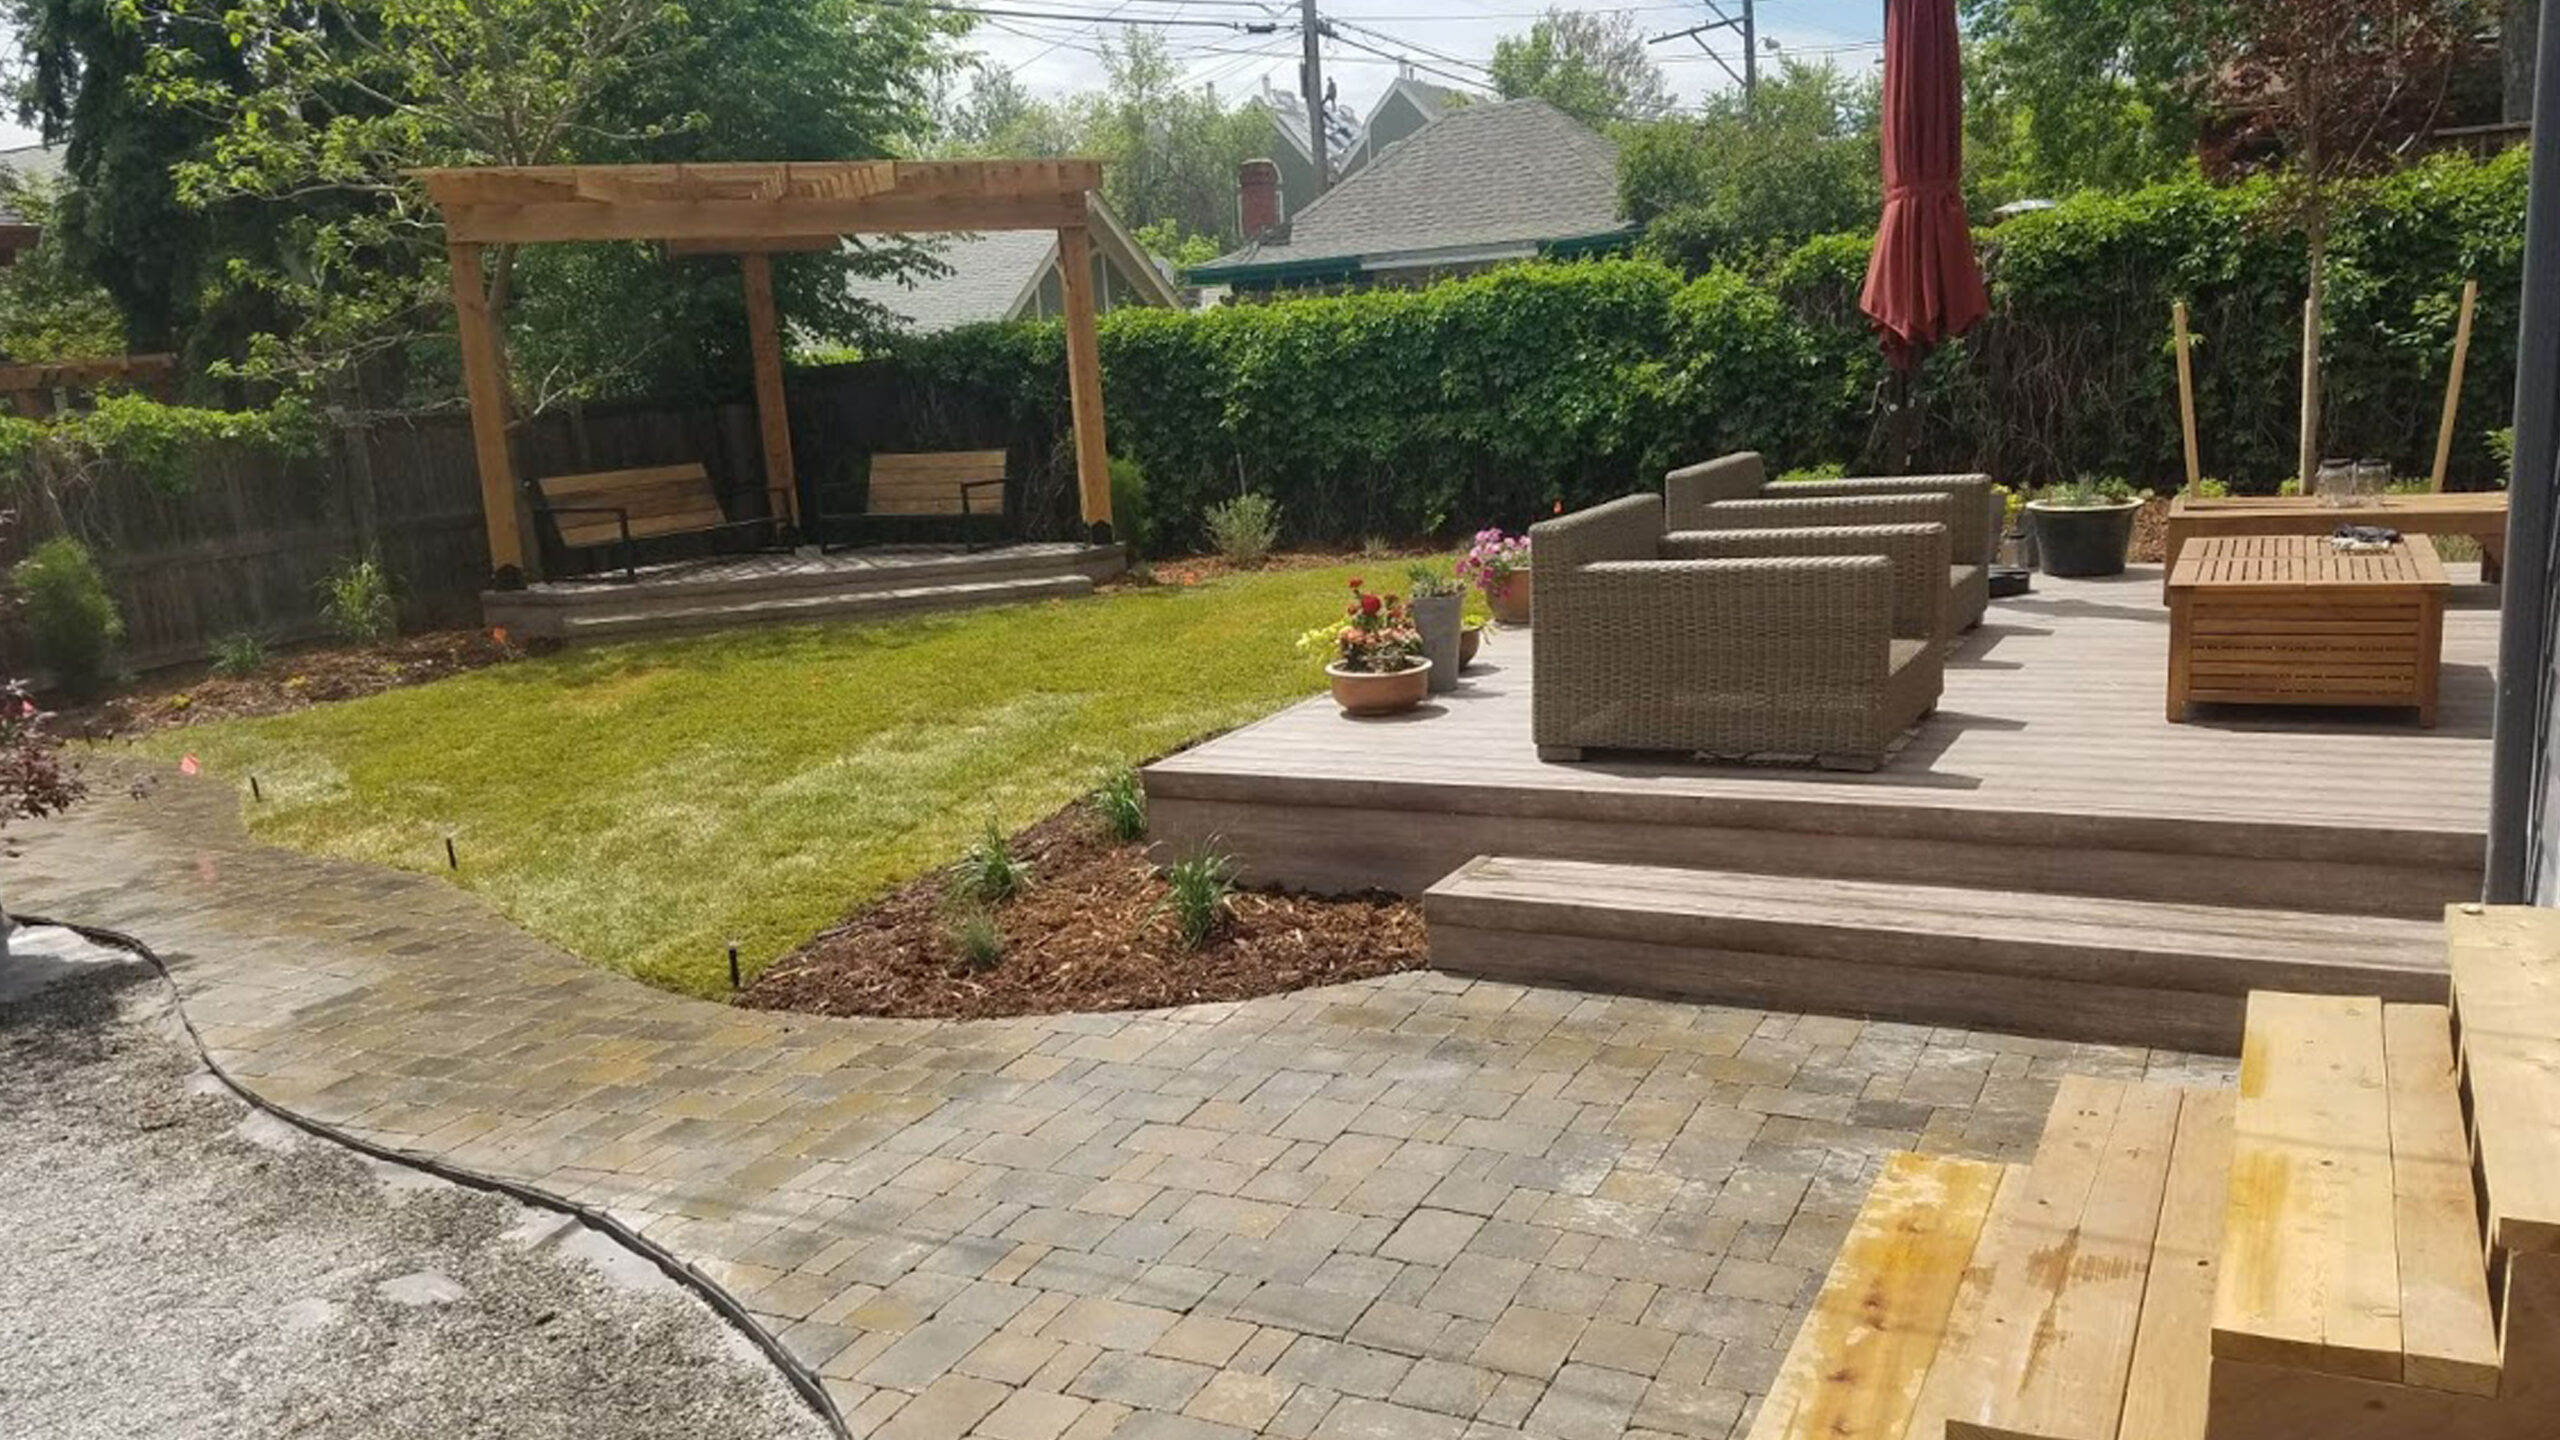
Wood
Wood is perhaps the most customizable and strongest material for a pergola. Wood can be painted, stained, or allowed to weather naturally. This natural look blends perfectly with the very popular rustic landscape design style that is very common. Pergolas made of wood are strong enough to attach to homes; they also blend in better. There are different types of wood material for your pergola. Pressure-Treated Wood, Rough Cedar, Red Wood
Cedar and Redwood are the two most used woods for pergolas.
Metal
If you are looking for a more modern and sleek approach to the pergola, investing in a metal one provides plenty of flexibility when it comes to choosing different styles. While an array of colors and variation of designs – ranging from attached to free standing – make metal a very versatile material option, it is its durability and weather resistance that make it a much sought-after pergola material. In addition to their longevity, metal pergolas are arguably some of the easier options to install in your backyard because they are often available in panelized kits that do not require any cutting. You metal options include:
Steel
Steel pergolas are some of the sturdiest ones on the market. If you want to add more shade to your backyard, you are in luck. It is incredibly easy to attach sheets and curtains to steel-framed pergolas, and their resilient structure helps to ensure any linen materials you put up stay in place.
Installation
Prepare for the Project
Always check with local authorities about permits and regulations. Your homeowner’s association may have requirements about changes to the outside of your home.
Measure and Lay Out the Pergola Posts
Begin laying out the pergola perimeter. Mark pergola post locations. Dig holes about a third as deep as they are tall. For example, an 8-foot post needs a hole at least 2 1/2-feet deep, plus add about 4-inches for gravel. The diameter of the hole should be three times the width of the post.
Position Posts in Concrete
Prepare the concrete according to the manufacturer’s direction.
Position the post in the middle of the hole after putting a heavy trash bag in the post. Pour in concrete. Fill the hole to within 6-inches of grade. Slope the concrete away from the post. Fill the remaining area in with dirt once the concrete sets.
Brace the posts plumb using 2-foot by 4-foot boards and stakes. Allow the concrete to set.
Add 2×6 Boards
Stabilize the posts by attaching 2x4s to adjacent sides of the post to hold in place for the next step. Next, grab a friend to help place the 2×6 boards on the notches at the top of the posts. Hold in place with screws temporarily, then permanently secure the boards at each post with two lag bolts. Repeat with another 2×6 on the opposite side of the post. Then, repeat this process on the second row of posts.
Build Rafters
Add rafters by placing them, evenly spaced, on top of the structure — Add 4×4 blocks between support beams to secure the rafters that don’t line up with the posts. Drill three-inch screws in at an angle to secure all rafters into the beams Optionally, add hooks and hangers to dress up your new pergola with plants and lanterns, creating a welcoming outdoor space.
Care and Maintenance
Stain or Treat the Wood
The last part of learning how to build a wood pergola is staining or treating the wood.
Apply wood preservative around the base posts to prevent the wood from rotting.
If the pergola is built of pressure-treated wood, wait until the wood has fully dried before applying stain or finish. Pressure-treated wood should not need additional preserving or waterproofing.
Apply new coats every 2 to 3 years. Clean the pergola with a wood or fence cleaner the day before application.
Refer to stain, finish, or paint manufacturer instructions for specific directions.