Water Features
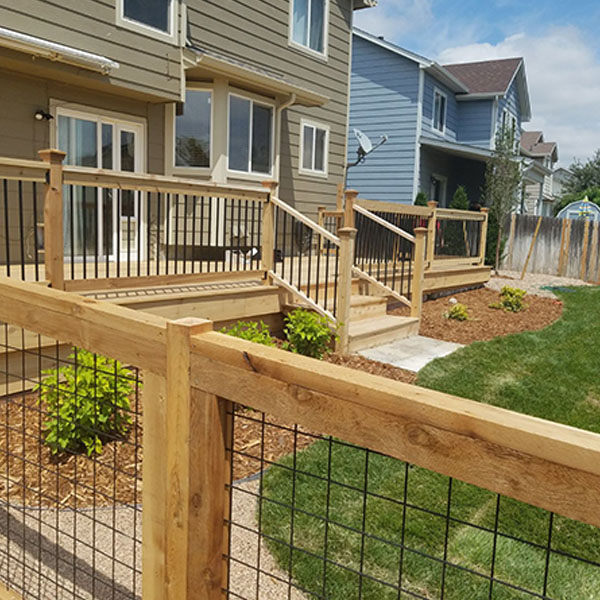
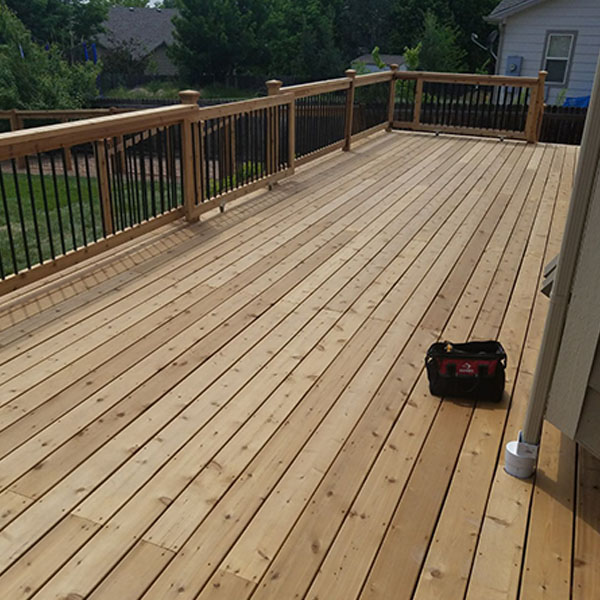
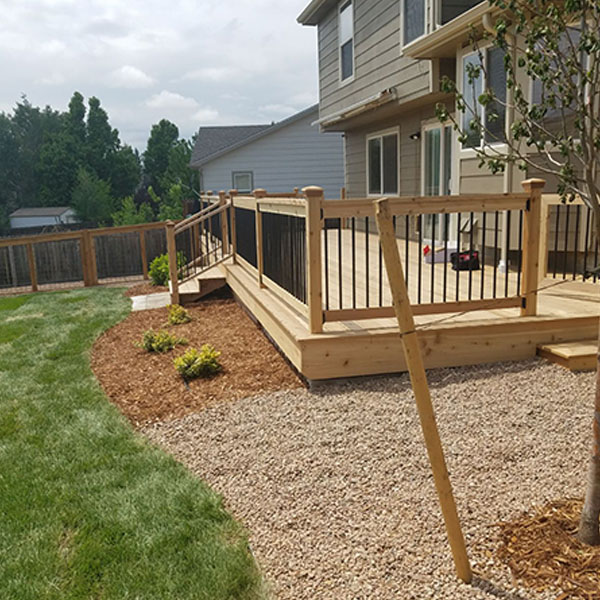
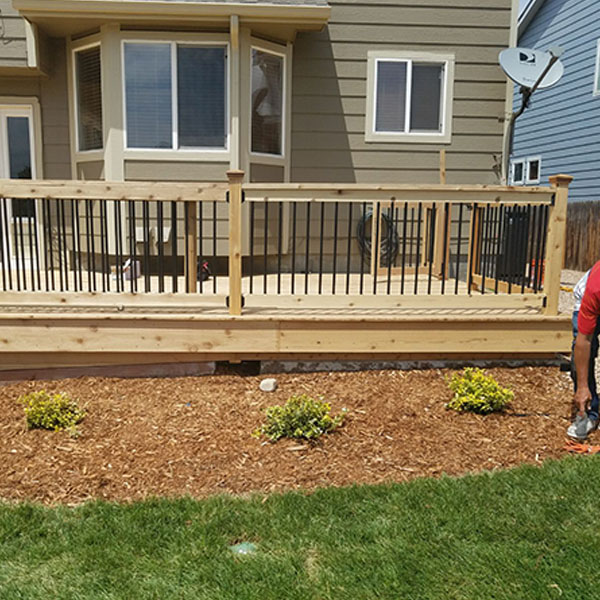
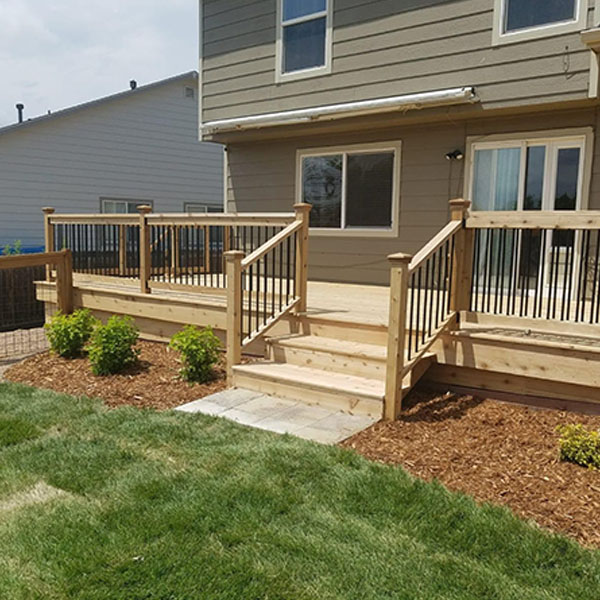
Decks
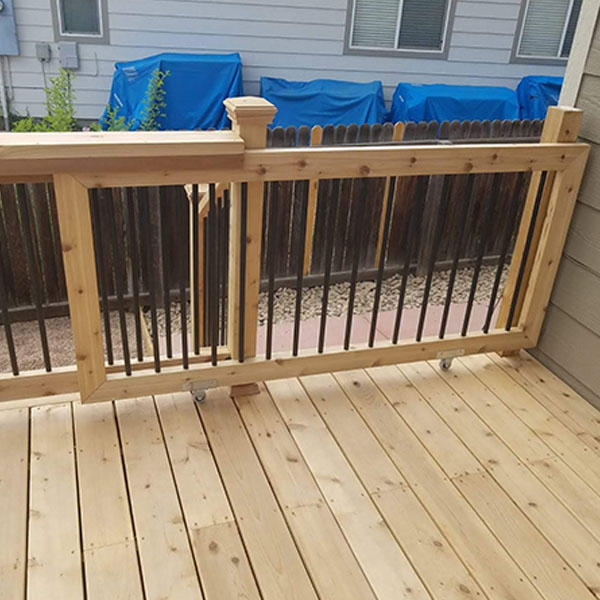
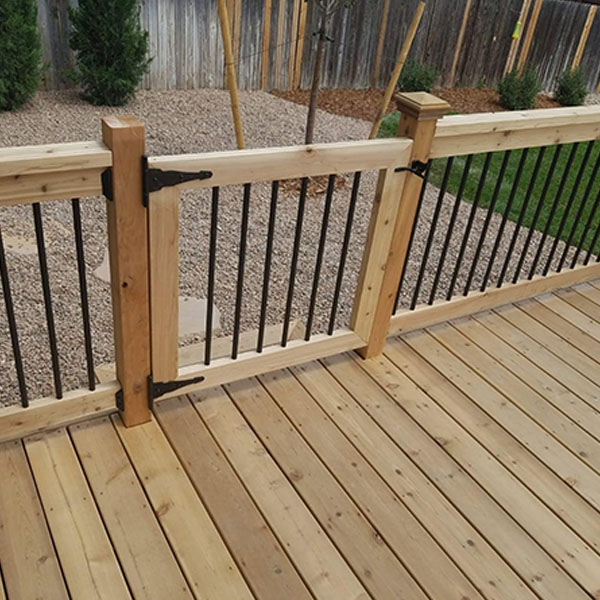
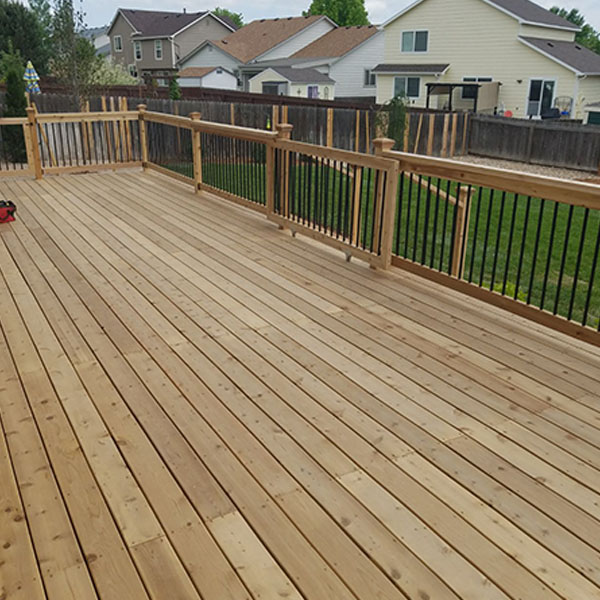
Material Types
Pressure-Treated Wood It is chemically treated to resist rot, mold, and insects. However, it is usually made from inferior grades of pine or fir that tend to crack and warp over time, making maintenance an ongoing chore. Cedar For aficionados of natural wood, cedar is a natural choice. Widely available, lightweight, and strong, cedar decking makes for a beautiful deck. The wood has tannins and naturally occurring oils that are resistant to rot and insects but protecting the wood with stain and sealer helps keep the wood free of cracks and splinters. Without protection, both cedar and redwood will eventually turn a soft gray color. Redwood Similar in characteristics to cedar, redwood is the classic choice for natural wood decking material. It is pricier than cedar, with select, clear grades of redwood commanding top dollar. Composites Composite decking boards and related synthetics are the fastest-growing segment of the decking board industry. They are made from wood fibers and recycled plastics, they will not warp or splinter, and they are impervious to insects and rot. Composite and other synthetic decking has the advantage of being virtually maintenance-free. Aluminum Prefinished aluminum decking is strong, weatherproof, and (of course) rot, rust, and insect-proof. The decking “boards” are lightweight and easy to cut with special saw blades. The extruded aluminum planks are finished with a thick, slip-resistant coating that comes in many colors and is maintenance-free. Special fasteners are required to secure the decking to your deck’s substructure.
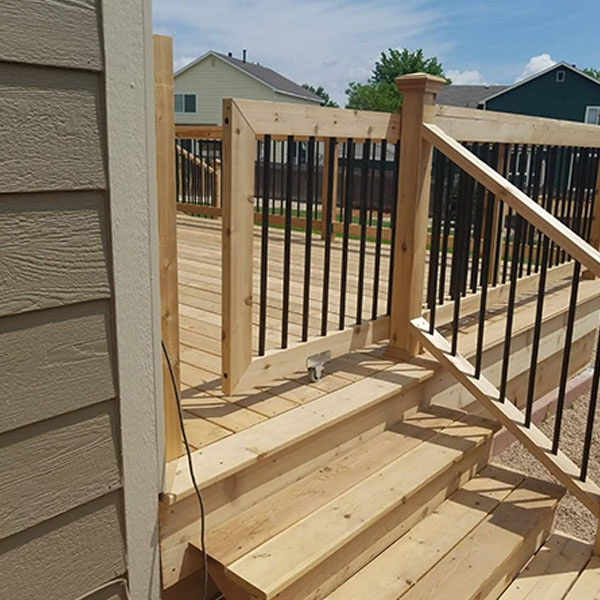
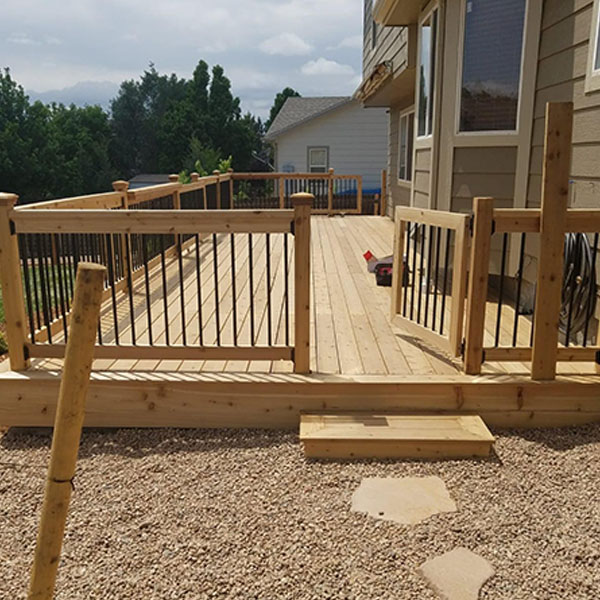
Installation
Prepare for the Project
Always check with local authorities about permits and regulations. Your homeowner’s association may have requirements about changes to the outside of your home.
Plan the Dimensions
Measure the dimensions of the yard, center the placement of the deck. Mark the ground to represent the deck’s corners and midpoints. These markings indicate the placement of the concrete support posts, called caissons.
Break Ground
Dig holes at the marked locations to form the concrete support posts called caissons then pour concrete in the holes and allow the concrete to cure.
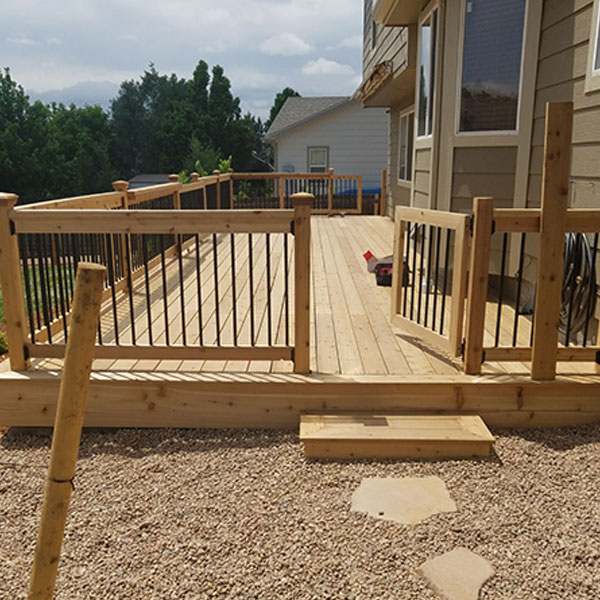
Start the Deck Frame
Start by forming the perimeter and a center beam.
Place the Main Boards
fit the four perimeter boards onto anchor plates set on the caissons. Later, these anchors help permanently tie the deck down. With the main boards in place, secure them together by nailing on corner brackets.
Finish the Frame
With the perimeter complete, finish out the frame by installing treated joists. After installing steel joist hangers at 16-inch intervals, set in the joists and nail them in.
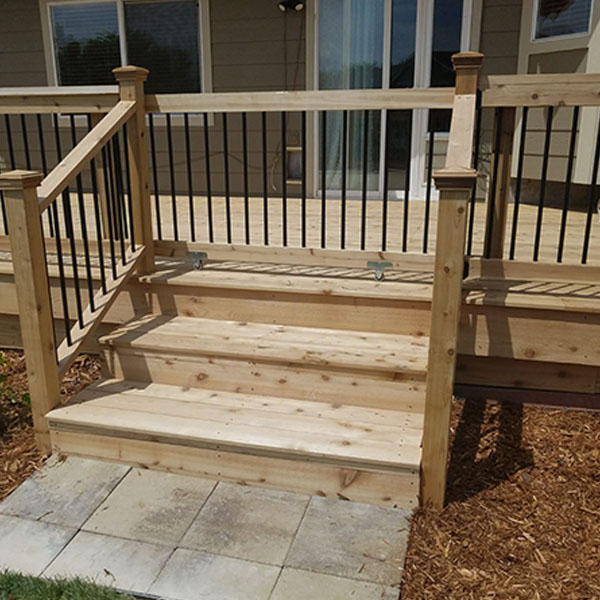
Install Decking Material
Having attached all the joists, finish up the deck by installing the decking material. To begin installation, start by squaring up the first piece of composite to the deck and attaching it to the underlying joists with composite decking screws. Continue screwing down the decking making sure to allow for a 1/4″ gap between each plank. Attach several rows and stagger the cut seams for structural.
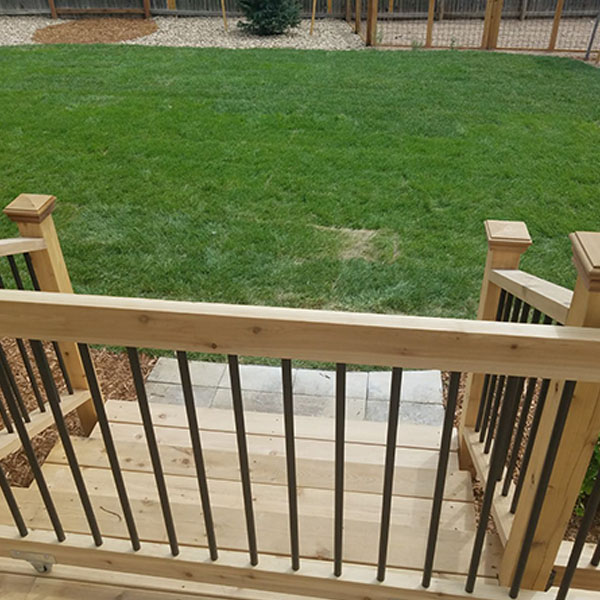
Complete the Deck
Care and Maintenance
1. Inspect and Prepare the Deck
As part of your deck maintenance, you should inspect your deck every year or two. Check especially for any loose boards or protruding nails that need repair.
2. Clean the Deck
you must thoroughly clean the deck of all dirt and build-up. Debris clogging the spaces between deck boards should first be blasted out with a powerful nozzle on a garden hose or a power washer.
3. Paint or Stain the Deck
Though some people choose to paint their decks with deck paint, most take advantage of the natural beauty of expensive decking woods by using a clear or lightly stained finish for their deck. If you do choose to paint, use a stain-blocking oil or alkyd primer first. In general, the best finishes are those that soak into the wood, not those that provide a surface film. A heavily pigmented, solid stain is not really recommended for decking because it shows wear patterns and may peel. You want something that really soaks in.
4. Seal the Deck
Once the area is dry, you must seal the deck.