Fences
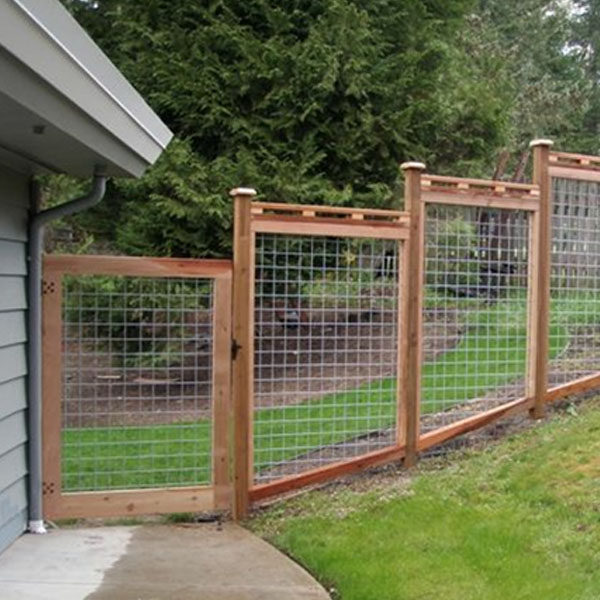
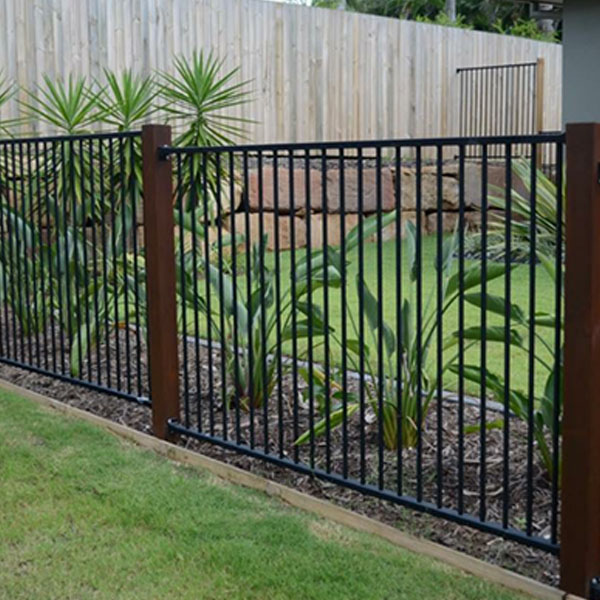
Material Types
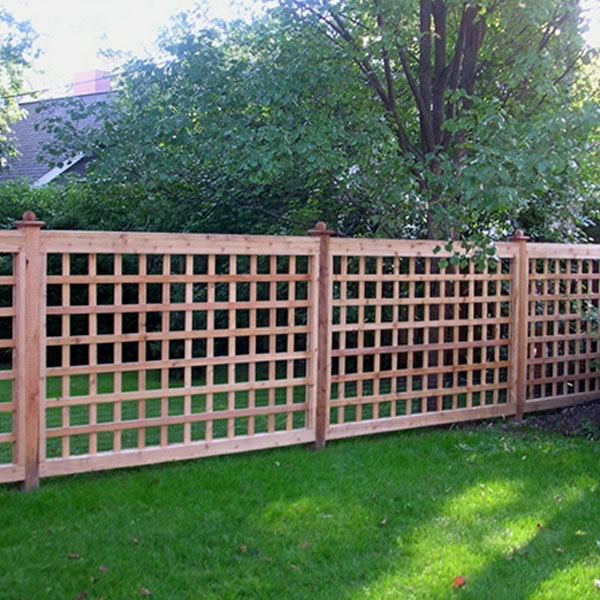
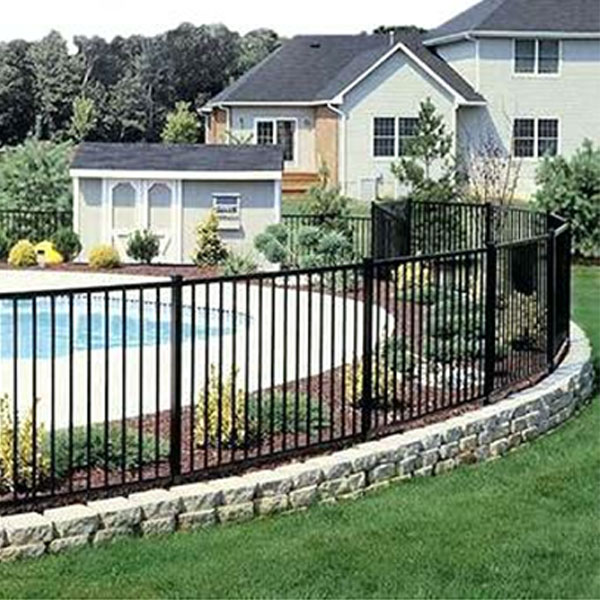
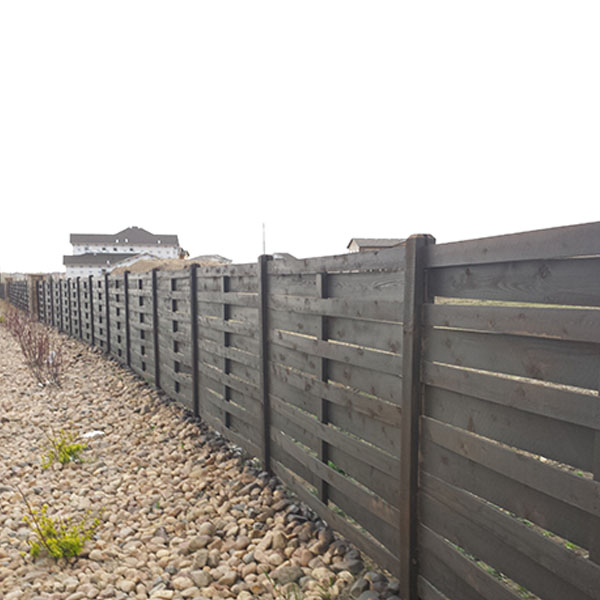
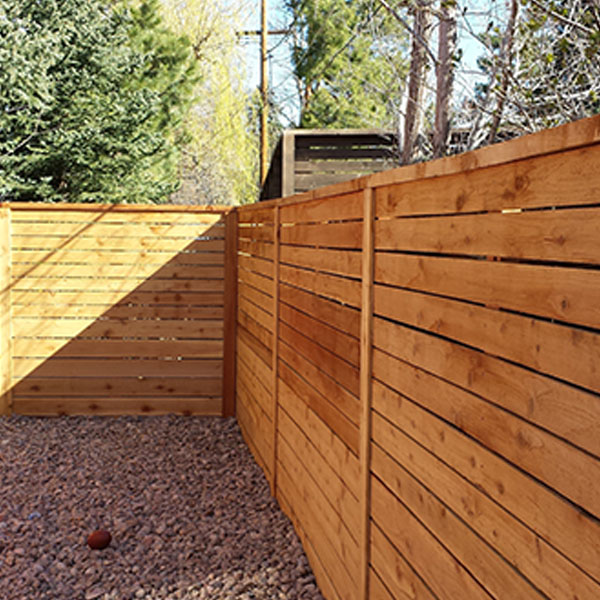
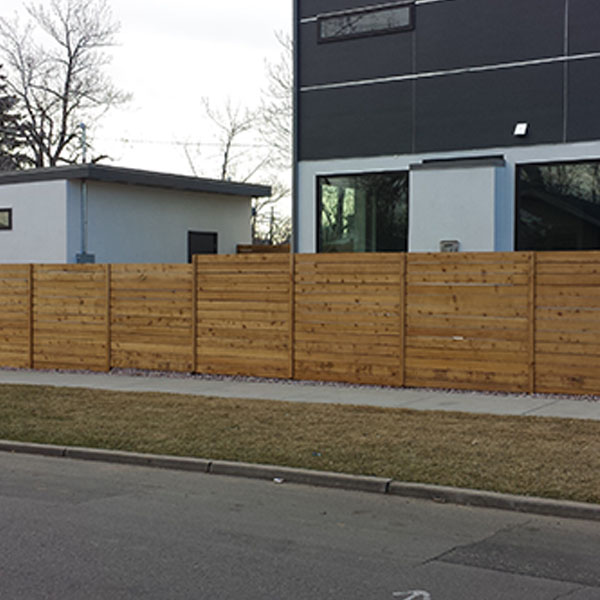
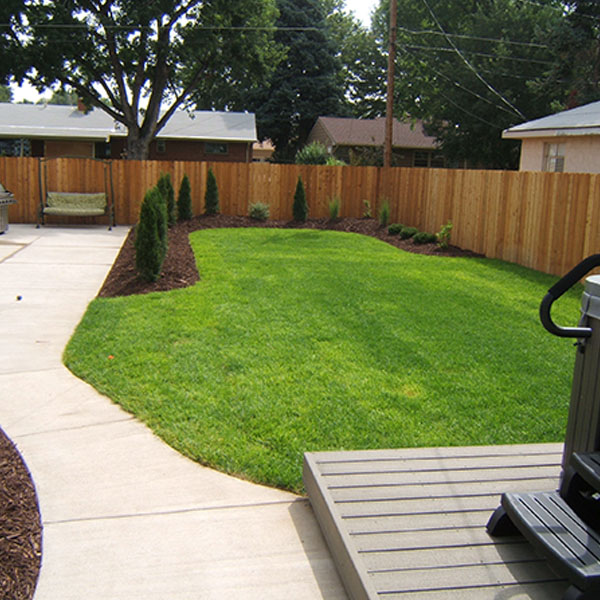
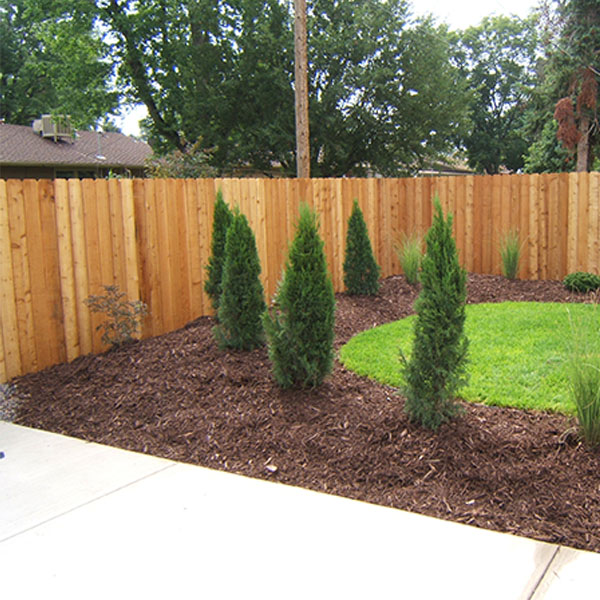
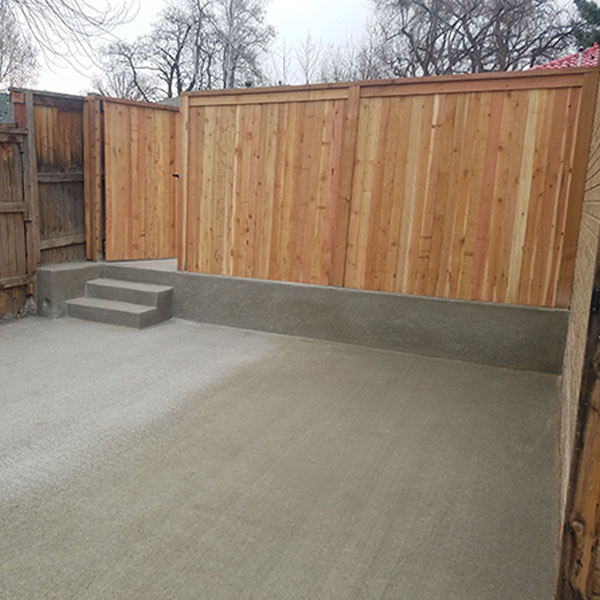
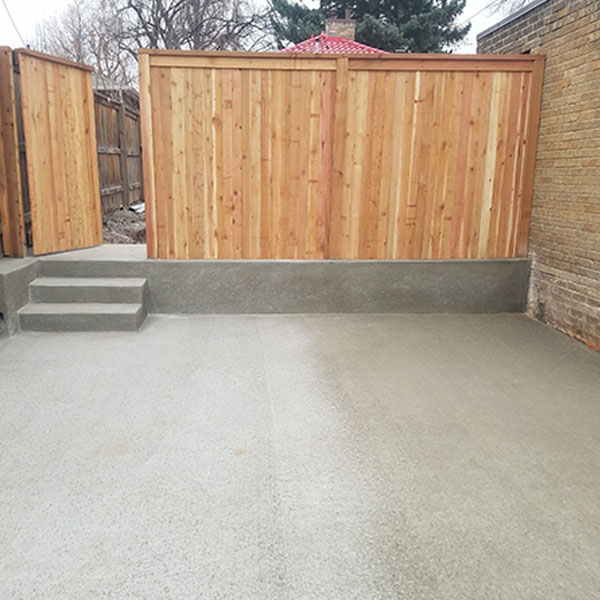
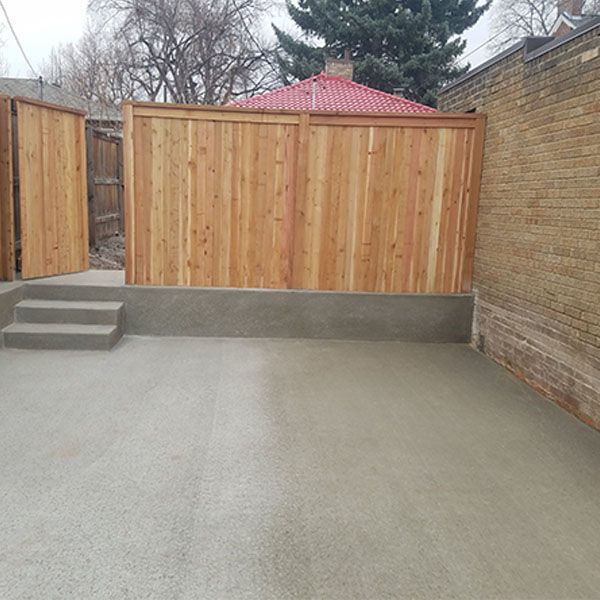
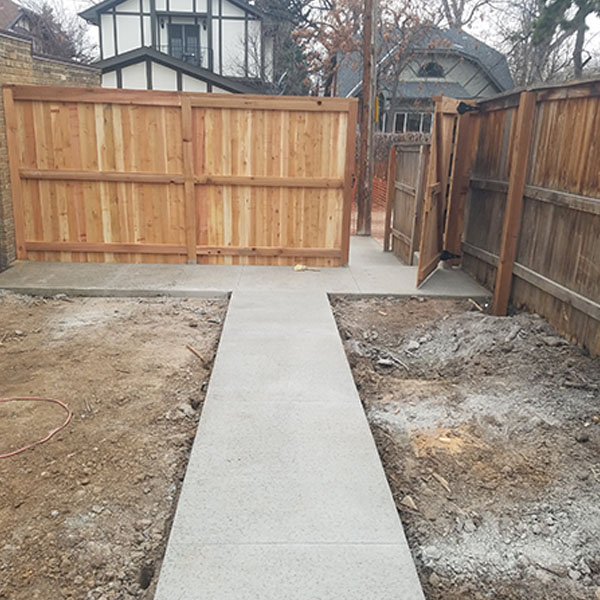
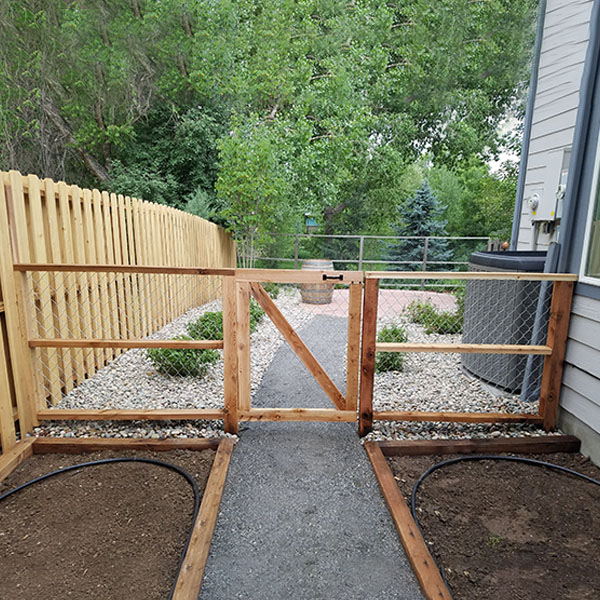
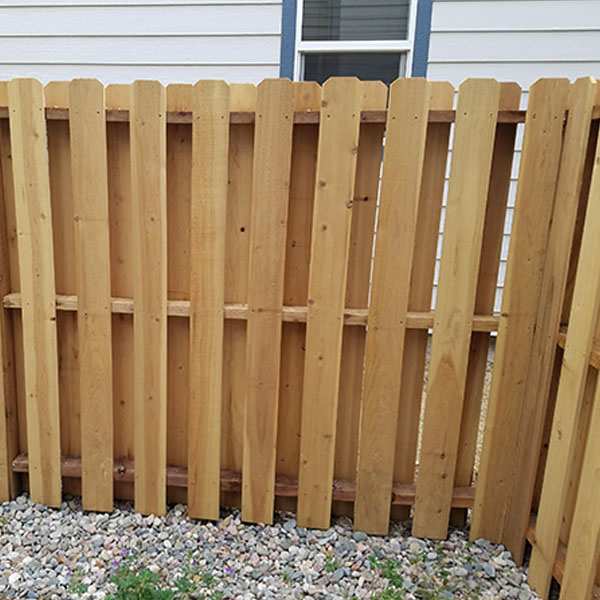
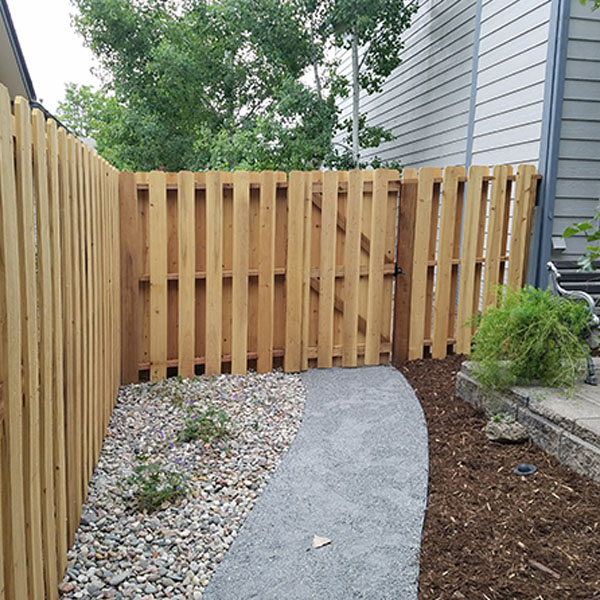
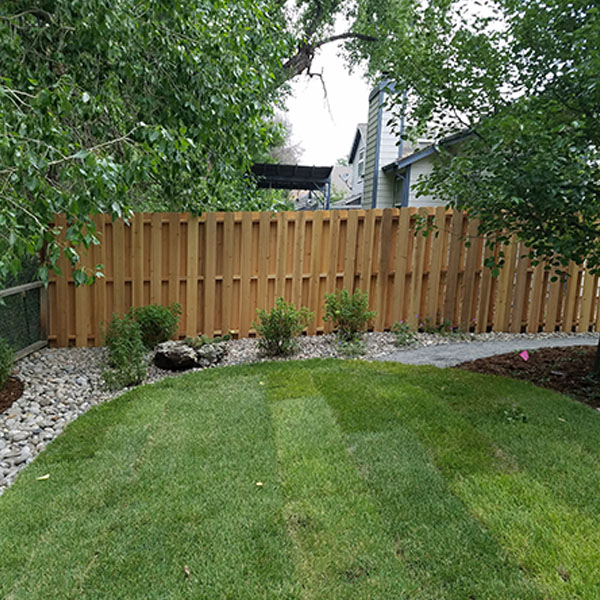
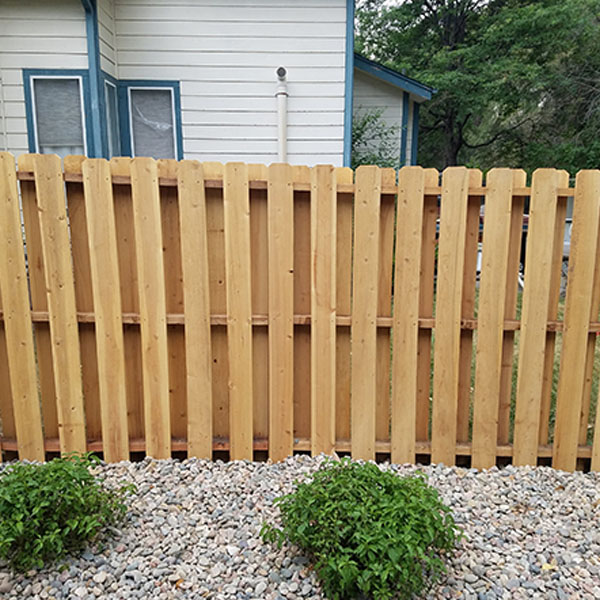
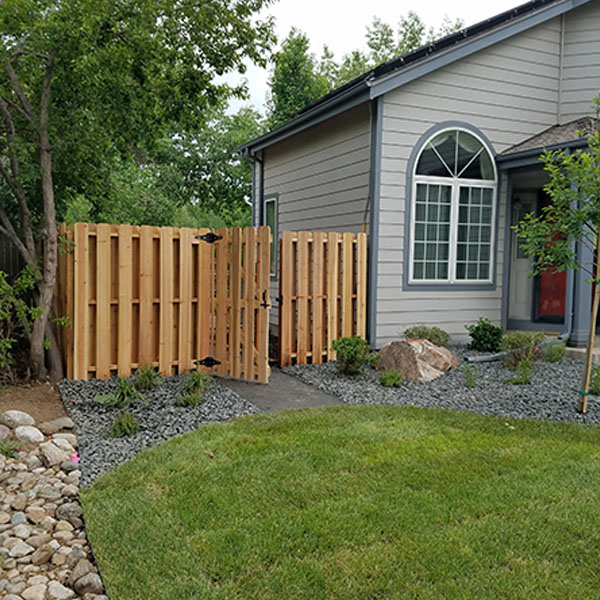
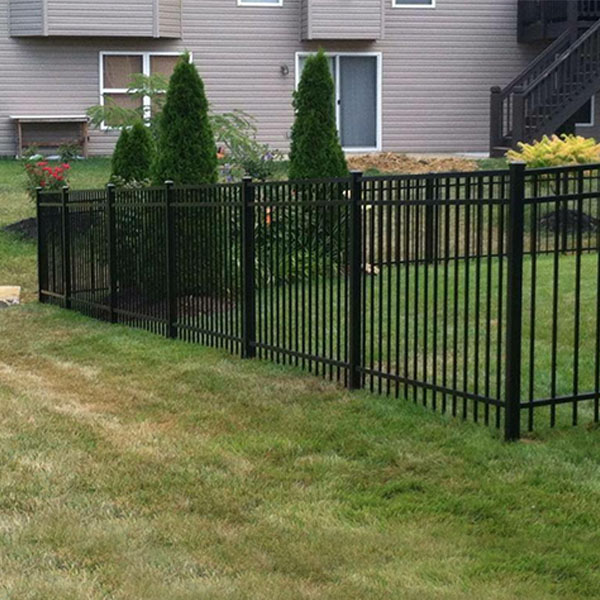
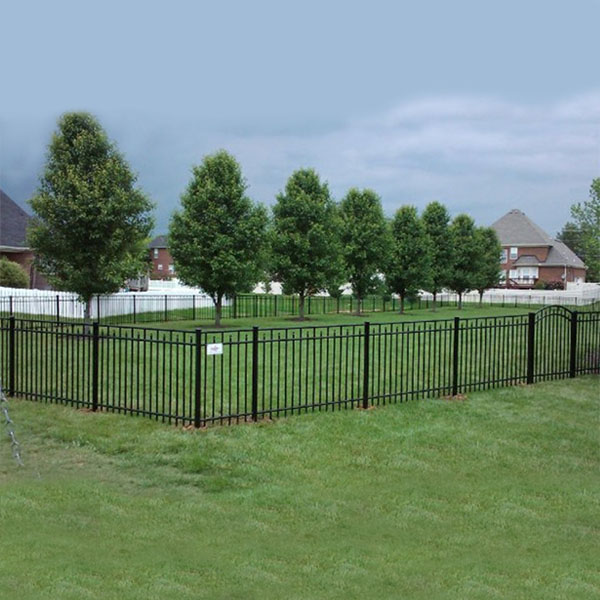
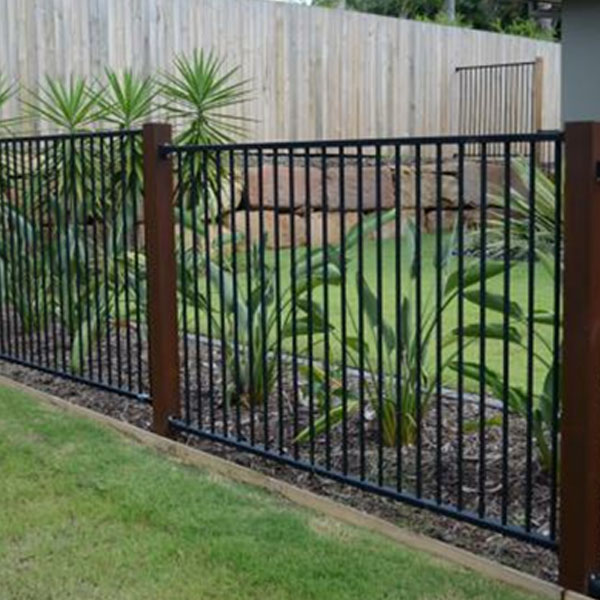
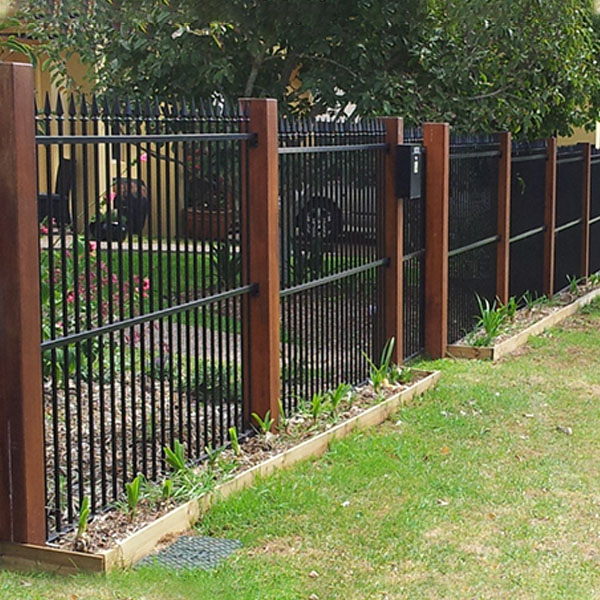
Wood gives a natural appearance. Can be used to create curves. Versatile - many design & style options. can be finished with stain or paint. Durability depends on type of post, type of lumber, waterproofing etc. Vinyl Reliable products known to last for 10+ years without fading. Color is limited to white, light tan and dark tan. Low grade vinyl is vulnerable to degradation from exposure to high UV light and extreme temperatures. Wrought Iron Today mainly made of modern steel which is better than cast and is much more flexible. Less expensive than traditional wrought iron. Iron is the traditional product due to its strength, however rusts quickly if scratched. Aluminum Strong, Long lasting, Visually diverse & widely available. Does not rust but is not as strong as iron. Some aluminum fencing is more durable than steel, but not as stiff. Chain Link Strong, Long Lasting, Great for sports courts. Not the most attractive looking fencing type. Mesh or slats must be added for privacy. A thicker galvanization means a stronger fence overall which is more resistant to rust and corrosion.
Installation
Plan your Fence
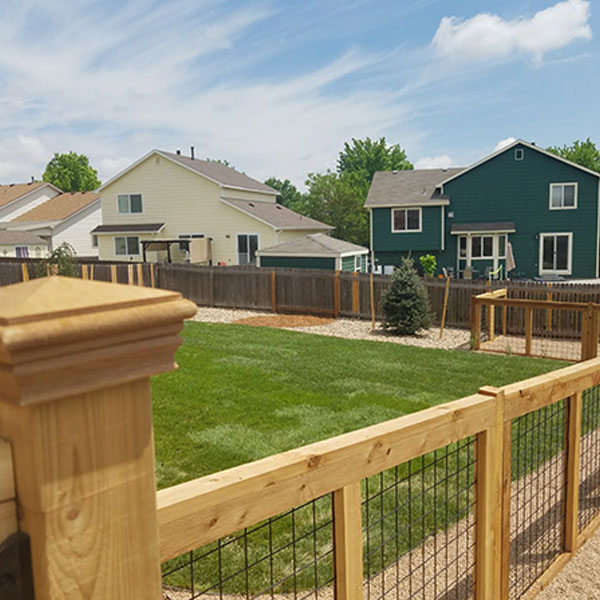
You will likely need a permit before you build your fence. Check local building codes concerning fence restrictions such as height and location. Choose building materials carefully. Determine your property line. Determine where you want to locate your gates. Measure the perimeter of the fence area to get the total linear footage. If building a fence using pre-assembled panels, divide the linear footage of fencing by the panel length (in feet) of the style fence you selected. This will determine the total fence panels and posts you need. Remaining footage will require a partial panel. Add two to the number of panels to determine how many posts you will need.
Measure and Lay Out the Fence Posts
Begin installing the fence by laying out the fence perimeter. Mark fence post locations. If building the fence using pickets, position the fence posts every 6-feet to 8-feet along the line where you want the fence to stand. Make sure the spaces between the posts are consistent. Dig holes about a third as deep as they are tall. For example, an 8-foot post needs a hole at least 2 1/2-feet deep, plus add about 4-inches for gravel. The diameter of the hole should be three times the width of the post.
Position Posts in Concrete
Prepare the concrete according to the manufacturer’s direction.
Position the post in the middle of the hole after putting a heavy trash bag in the post. Pour in concrete. Fill the hole to within 6-inches of grade. Slope the concrete away from the post. Fill the remaining area in with dirt once the concrete sets.
Brace the posts plumb using 2-foot by 4-foot boards and stakes. Allow the concrete to set.
Attach Rails or Panels to Posts
Once the concrete has cured, it is time to build the fence.
Attach the wood fence rails or wood fence panels to the posts. Attach the rails to the posts. The widest part of the rail should register on the post.
Attach Pickets to Rails
Once the rails are in place, begin attaching the pickets to the rails.
Attach Post Caps
To finish building a fence, attach a post cap if desire.
Care and Maintenance
Stain or Treat the Wood
The last part of learning how to build a wood fence is staining or treating the wood.
Apply wood preservative around the base posts to prevent the wood from rotting.
If the fence is built of pressure-treated wood, wait until the wood has fully dried before applying stain or finish. Pressure-treated wood should not need additional preserving or waterproofing.
Apply new coats every 2 to 3 years. Clean the fence with a wood or fence cleaner the day before application.
Refer to stain, finish, or paint manufacturer instructions for specific directions.